How to draw an apple in pen and ink
Introduction
Hello, I’m Pengamaru.
- If you are a beginner just starting with pen drawing and want to learn the basics of how to draw.
- If you are looking for a suitable subject to practice pen drawing.
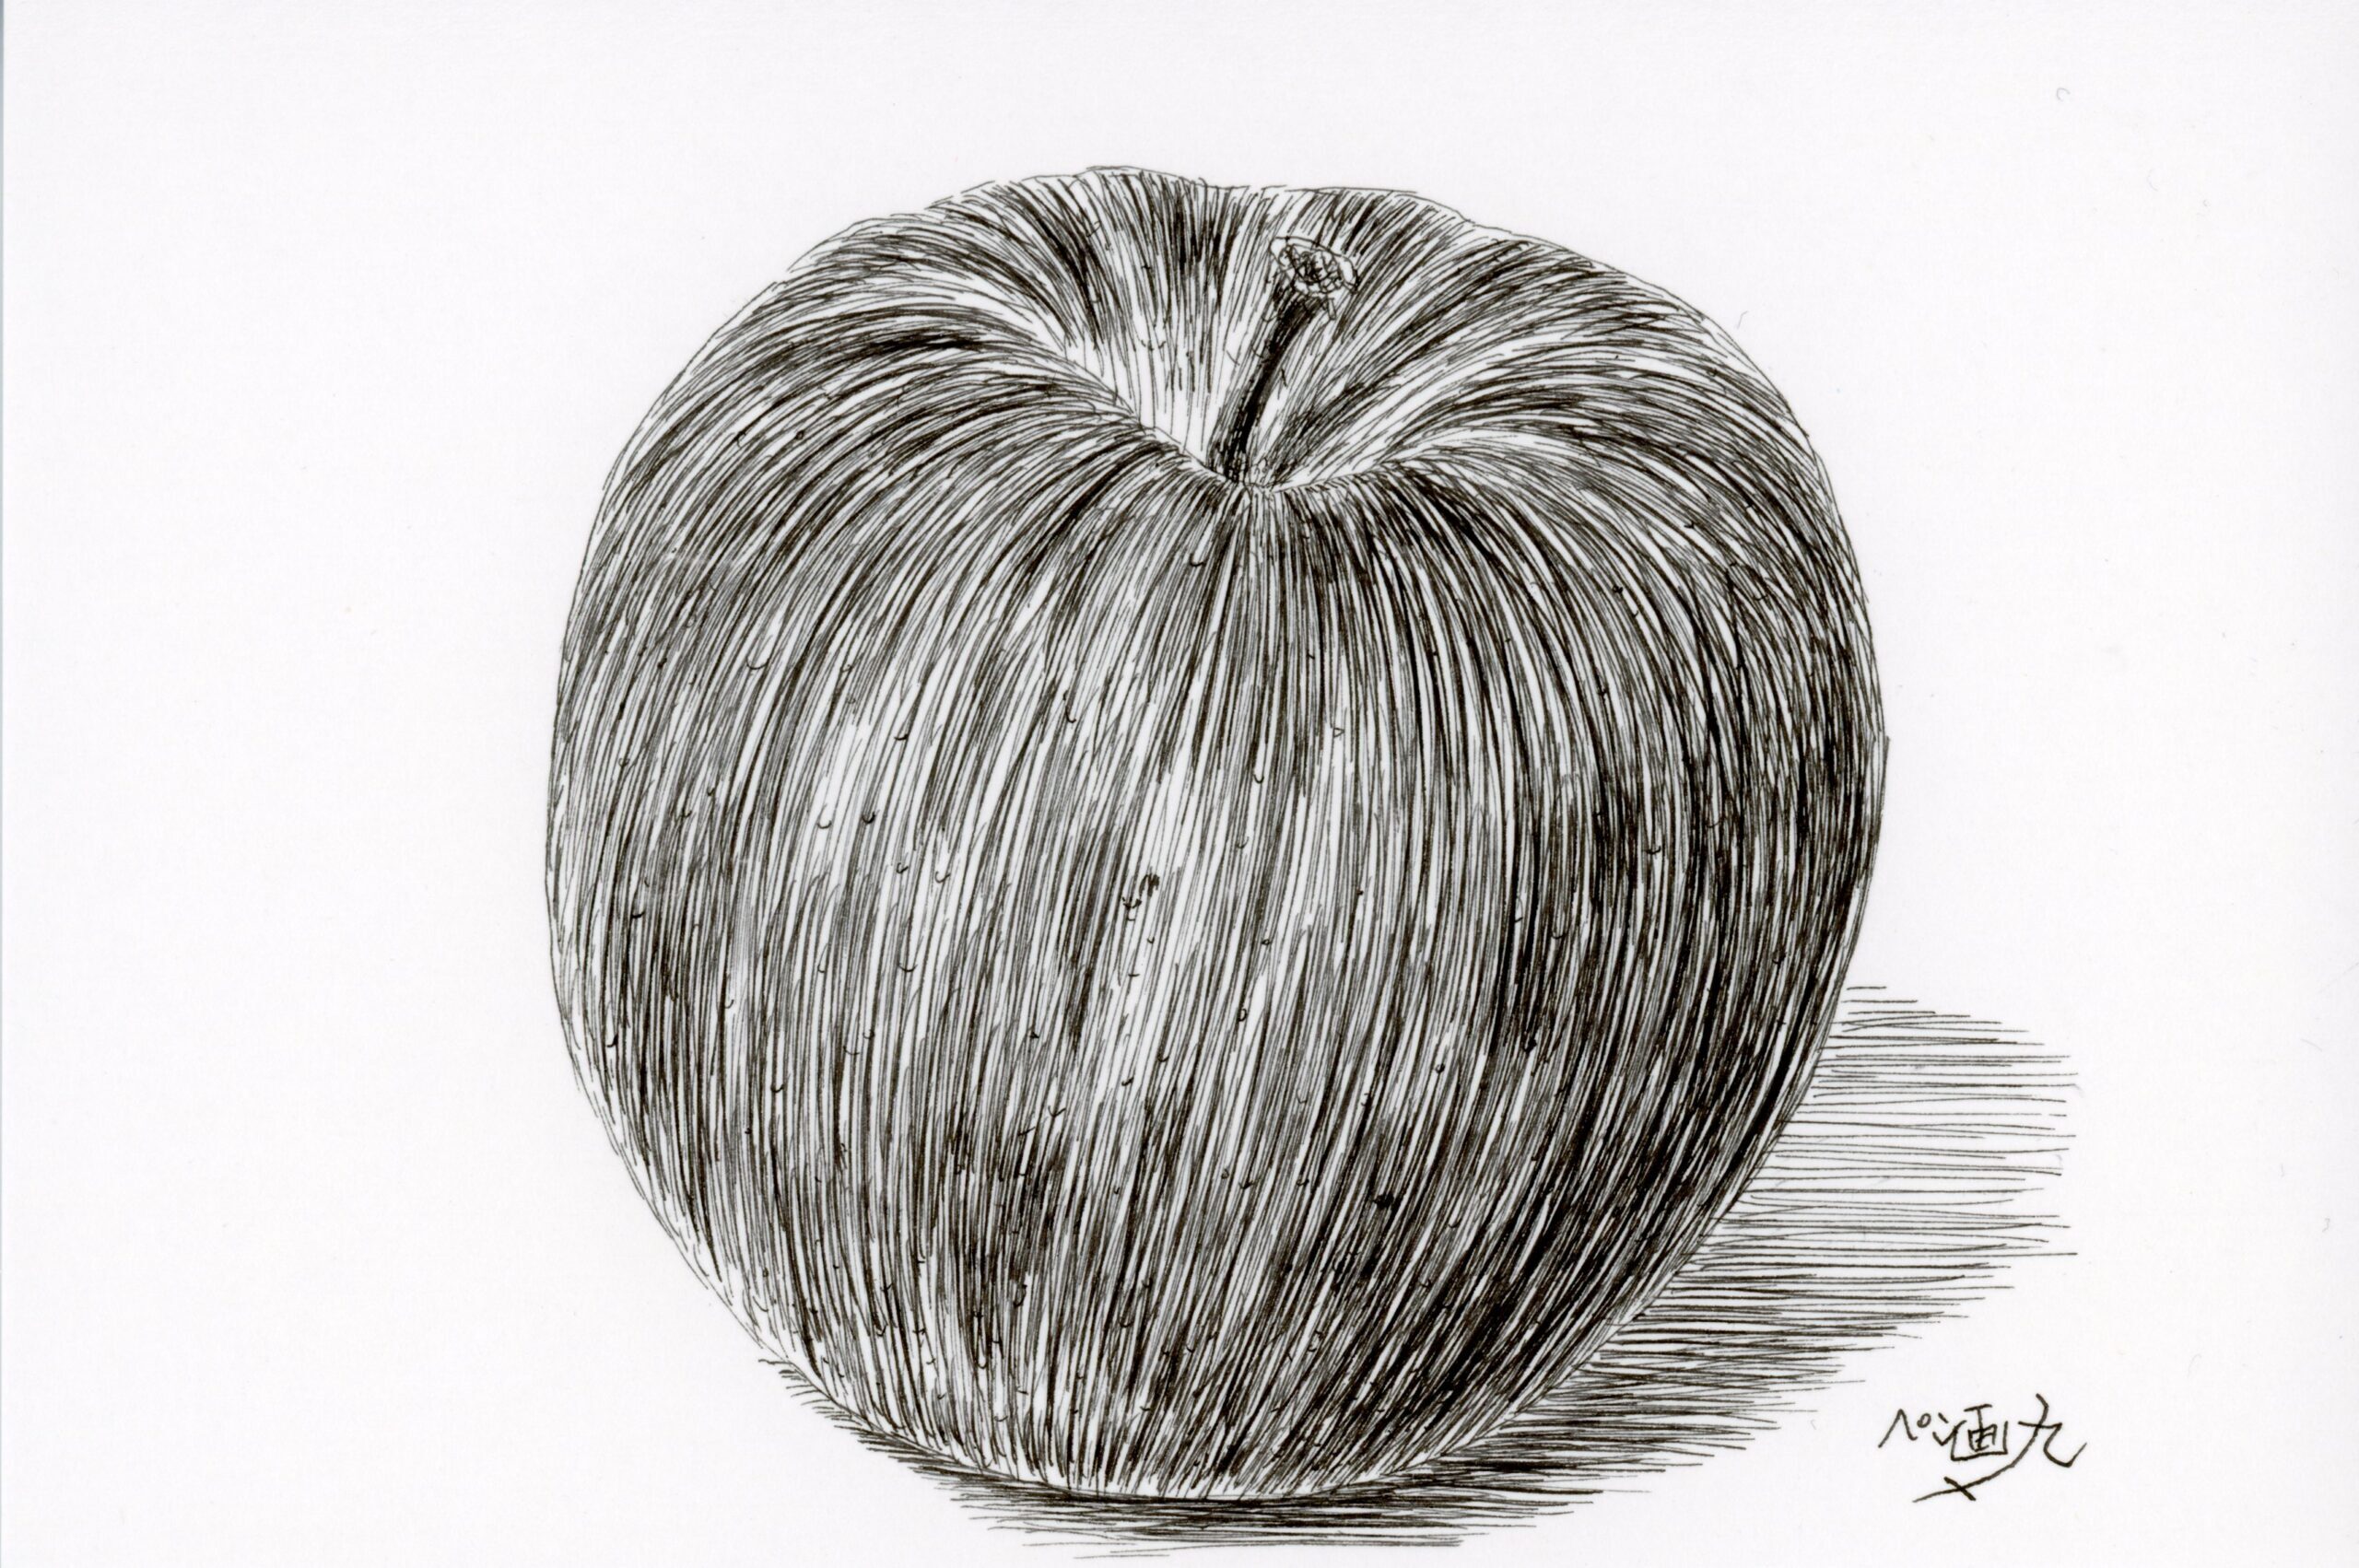
This guide will explain in detail how to draw an apple in pen and ink.
The apple is a classic subject in art, enjoyed by both beginners and advanced artists alike. Although simple in shape, carefully depicting its form, shadows, and texture helps develop essential pen drawing techniques.
By reading this article, you will:
- Learn the specific steps to drawing an apple in pen and ink (Sketching → Inking → Adding Shadows)
- Develop observational skills and techniques that can be applied to other subjects by drawing simple motifs with care
Now, let’s step into the fascinating world of pen drawing together!
Tools Used This Time
- Maru Pen[Mapping Pen] (About Maru Pen)
- Carbon Ink [Pigment Ink] (Abouto Pigment Ink)
About Apples
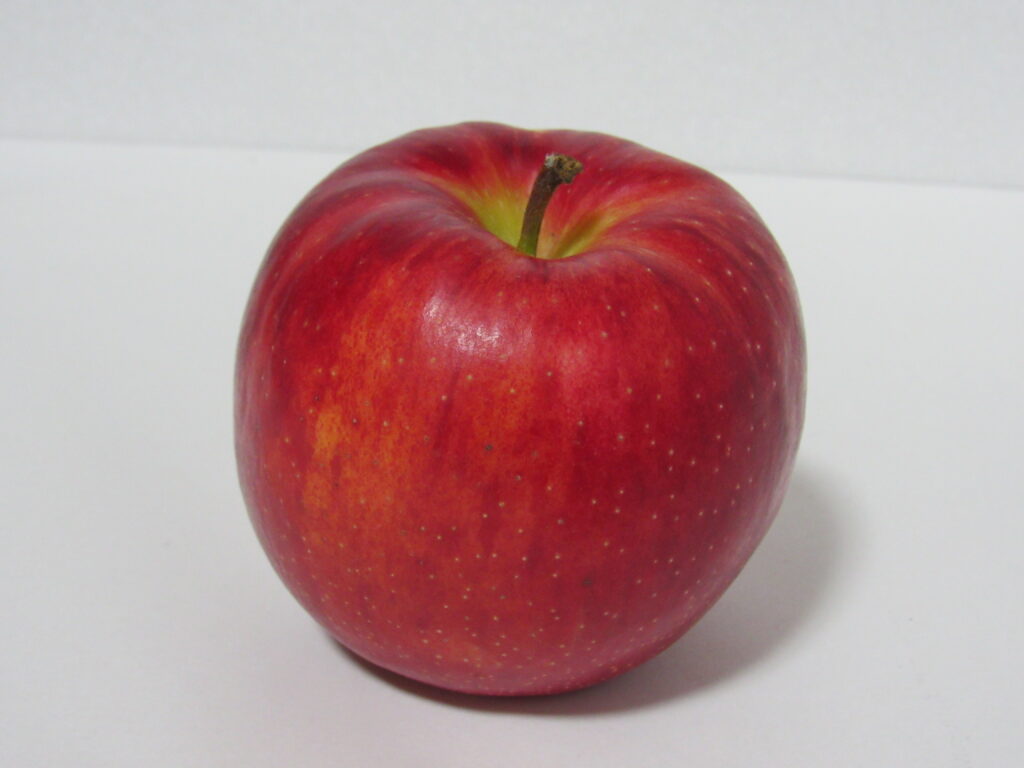
Although apples appear round at first glance, they actually have a shape like a swollen pentagon.
Apple petals usually have five petals, and the flowers range from white to light pink.
Also, when you slice an apple, the seeds are arranged in a pentagonal shape.
When drawing an apple, it is good to be aware of this pentagonal shape and the changes in the surfaces.
Drawing the Sketch of an Apple
Drawing the Basic Shape of the Apple
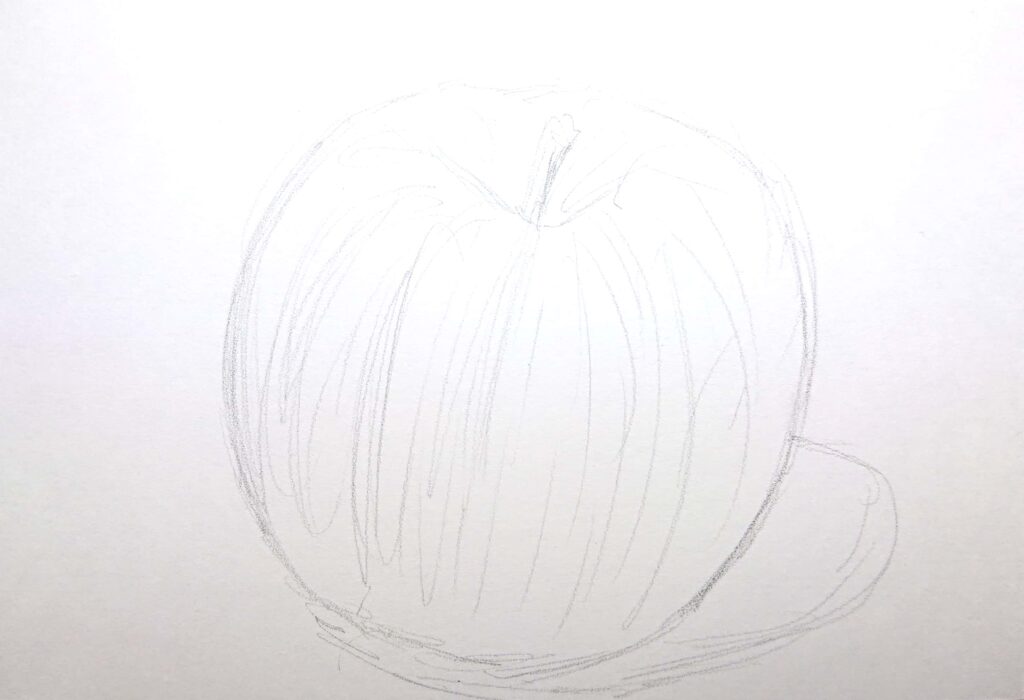
Consider the direction of the light that illuminates the apple.
Use a pencil to draw the basic shape of the apple.
Sketch the outline of the apple’s roundness, the indentation at the top, the stem, and the shadow cast on the surface.
Refining the Sketch
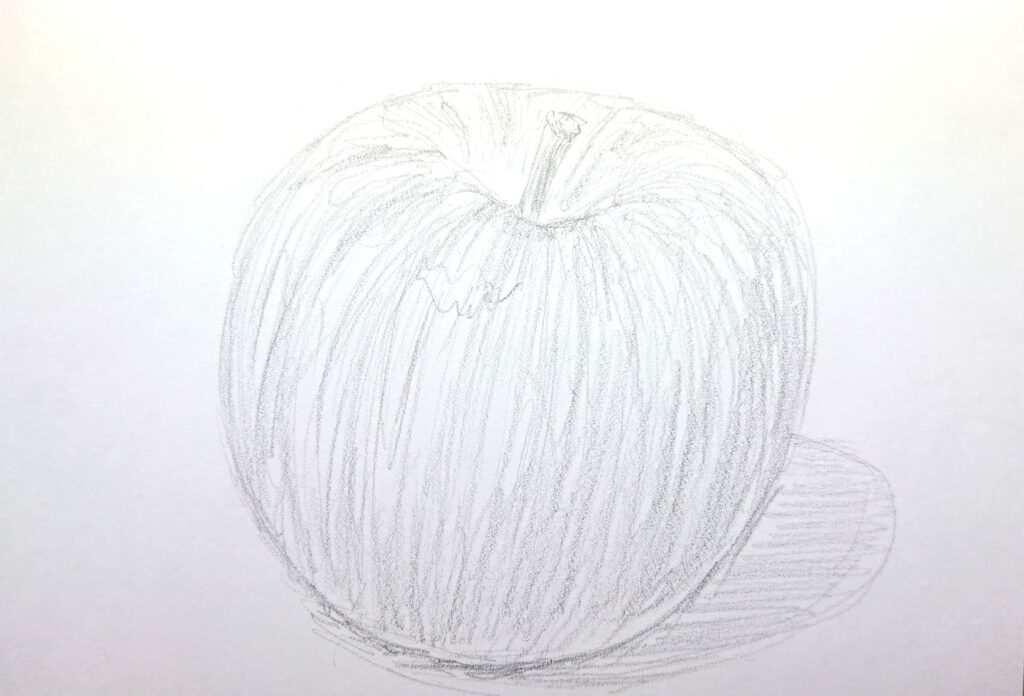
Draw lines along the surface of the apple to define its shape more precisely.
Refine the sketch by adding more details.
Draw the shadow on the surface using horizontal lines.
Indicate the edges of the highlights.
Add details to make it easier to draw with a pen later.
Drawing with a Pen
Drawing the Outline
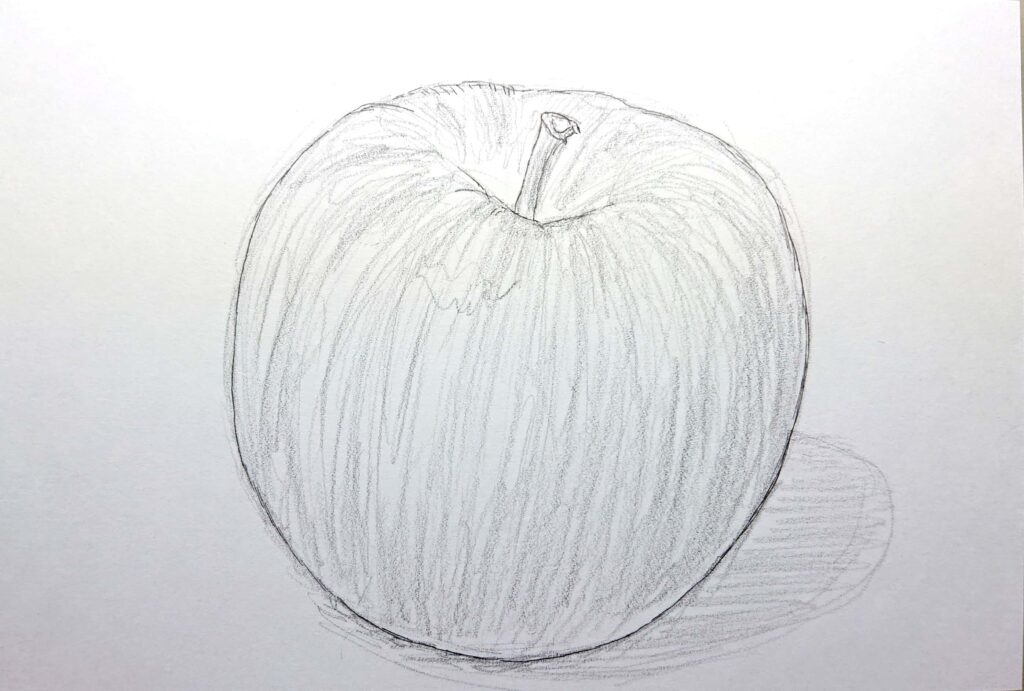
Start drawing with a pen from here.
First, draw the outer contour lines with the pen.
By connecting short lines to form a single line, you can create a natural outline.
Drawing the Apple’s Pattern
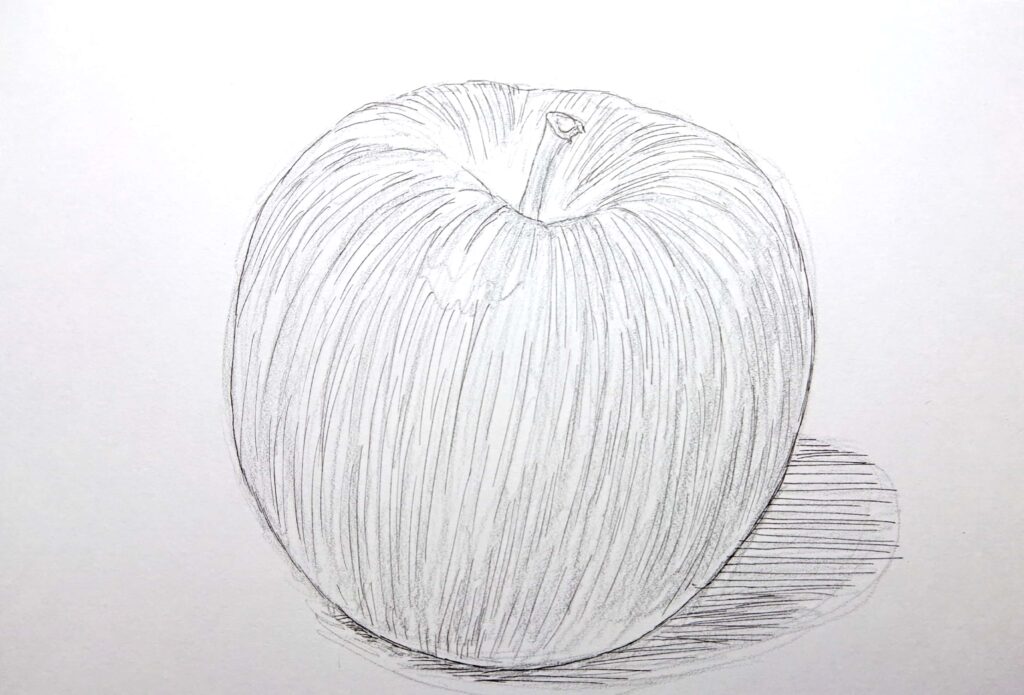
Based on the sketch lines, draw lines that match the apple’s pattern.
Draw with rounded lines along the surface.
Be mindful of the pentagonal surfaces and the changes in shape as you draw.
Drawing the Shadow Under the Apple
Draw the shadow under the apple with horizontal lines.
These lines represent the flat surface.
Adjust the shading to create realistic shadows.
Using an Eraser
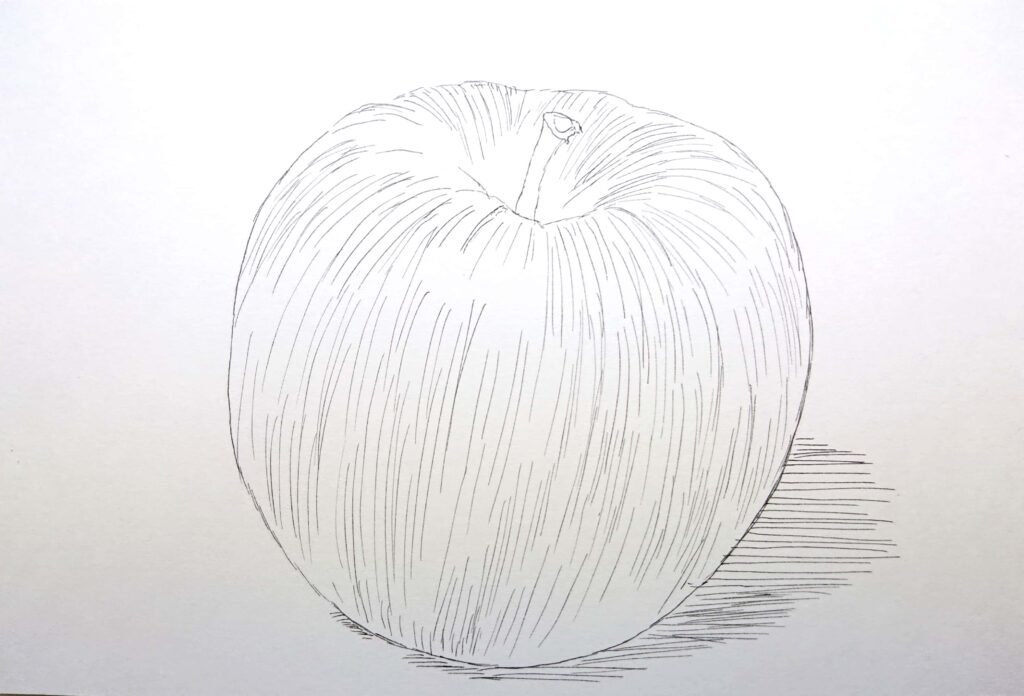
Use an eraser lightly in one direction to avoid damaging the paper.
Be careful not to press too hard, as areas that are heavily rubbed will result in thicker lines when you go over them with the pen.
Drawing Spots
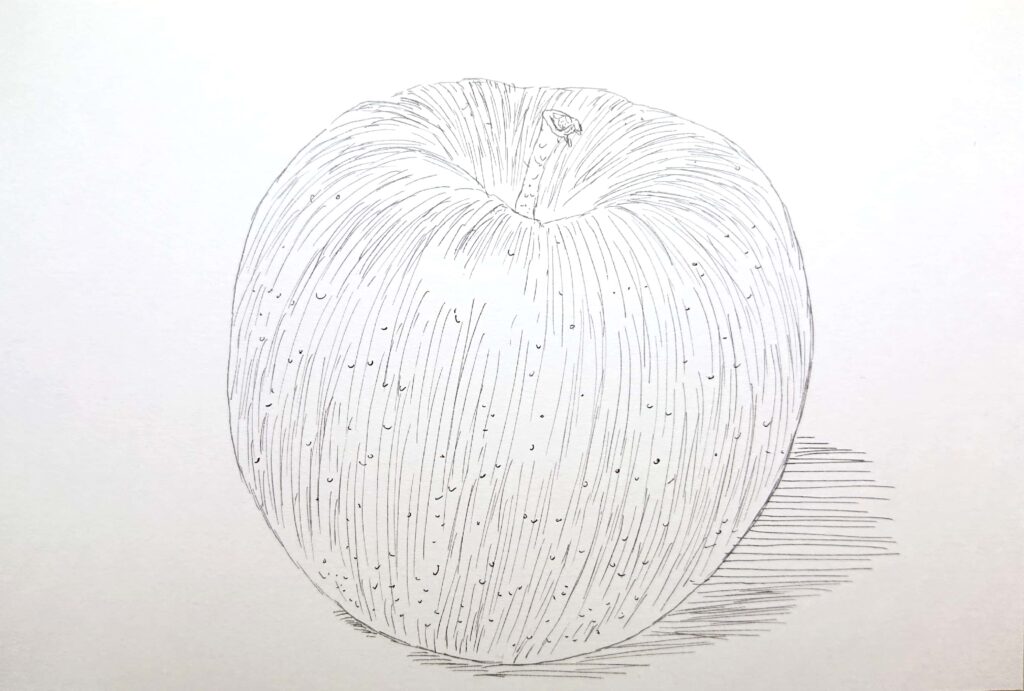
The surface of the apple has spots called lenticels.
Draw these spot patterns.
The spots are denser towards the bottom because the top part of the apple is more swollen than the bottom.
Detailing the Apple’s Skin and Surface
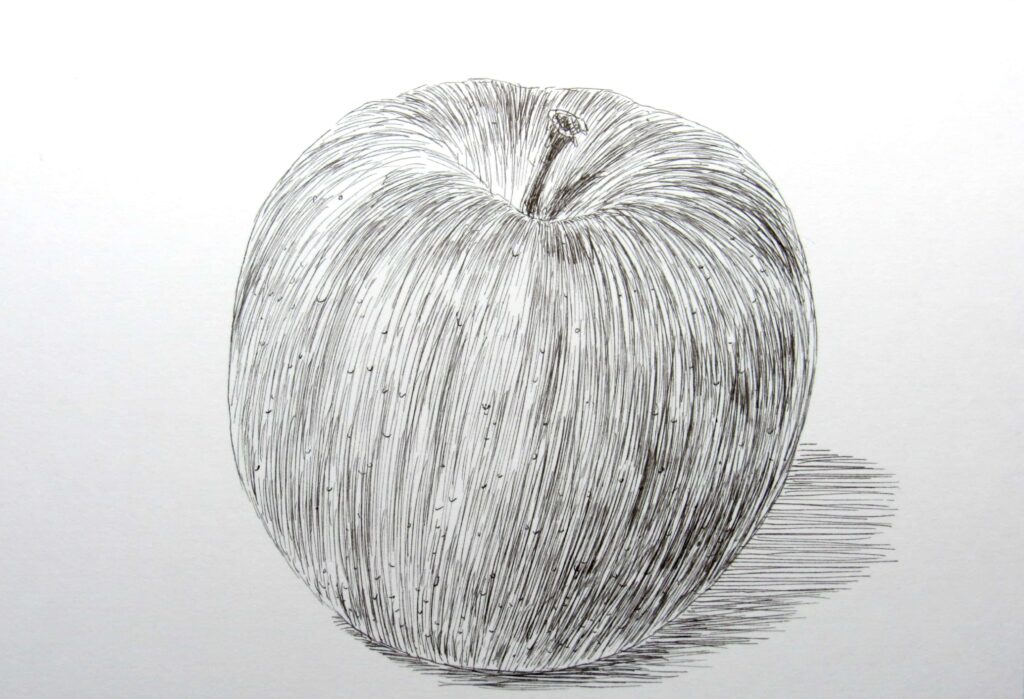
Draw the red patterns of the apple’s skin.
Align the lines along the surface to express the texture of the apple.
Draw the shadows of the apple and the surface it’s on.
The shadow on the surface is darker near the part where the apple touches and lighter further away.
Drawing the Contact Points
The part where the apple touches the surface usually has five points.
The shadow is darker near the contact points.
Keeping this in mind, the darker parts of the shadow will be near the five contact points.
Finalizing the Drawing
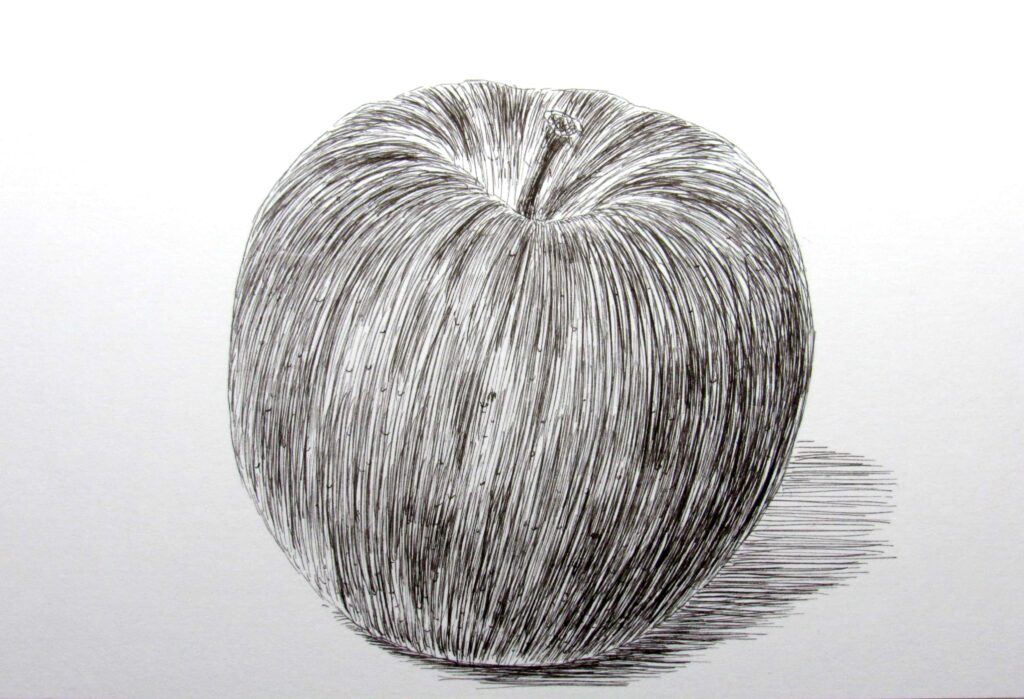
Add more details and darken the drawing to finish it.
Layer the lines to deepen the color patterns of the apple.
Add and darken the shadows of the apple.
Final Touches
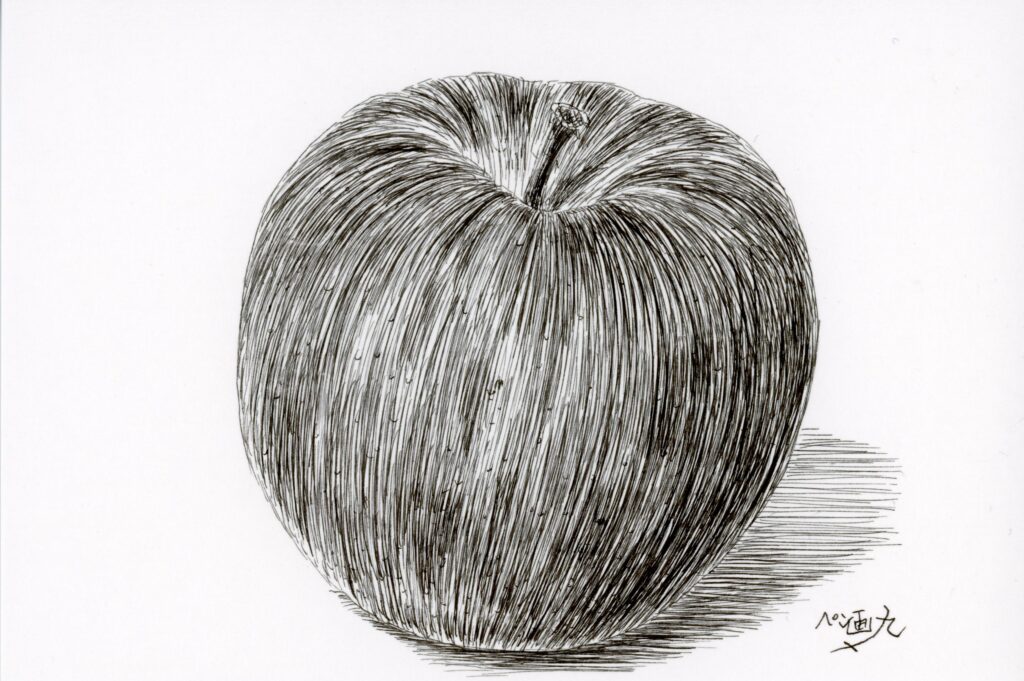
Darken the top part of the apple.
Adjust the overall balance and complete the drawing.
Signing Your Work
Add your signature.
Conclusion
How did you find this guide on drawing an apple with a pen?
The apple is simple yet profound subject, and drawing it can help you acquire many skills.
Using this article as a reference, please try creating your own artwork.
Pen drawing improves with practice. It may seem difficult at first, but with persistence, you will see progress.
The observation and depiction skills you gain from drawing an apple will be very useful when drawing other subjects as well.
Thank you for reading until the end.

