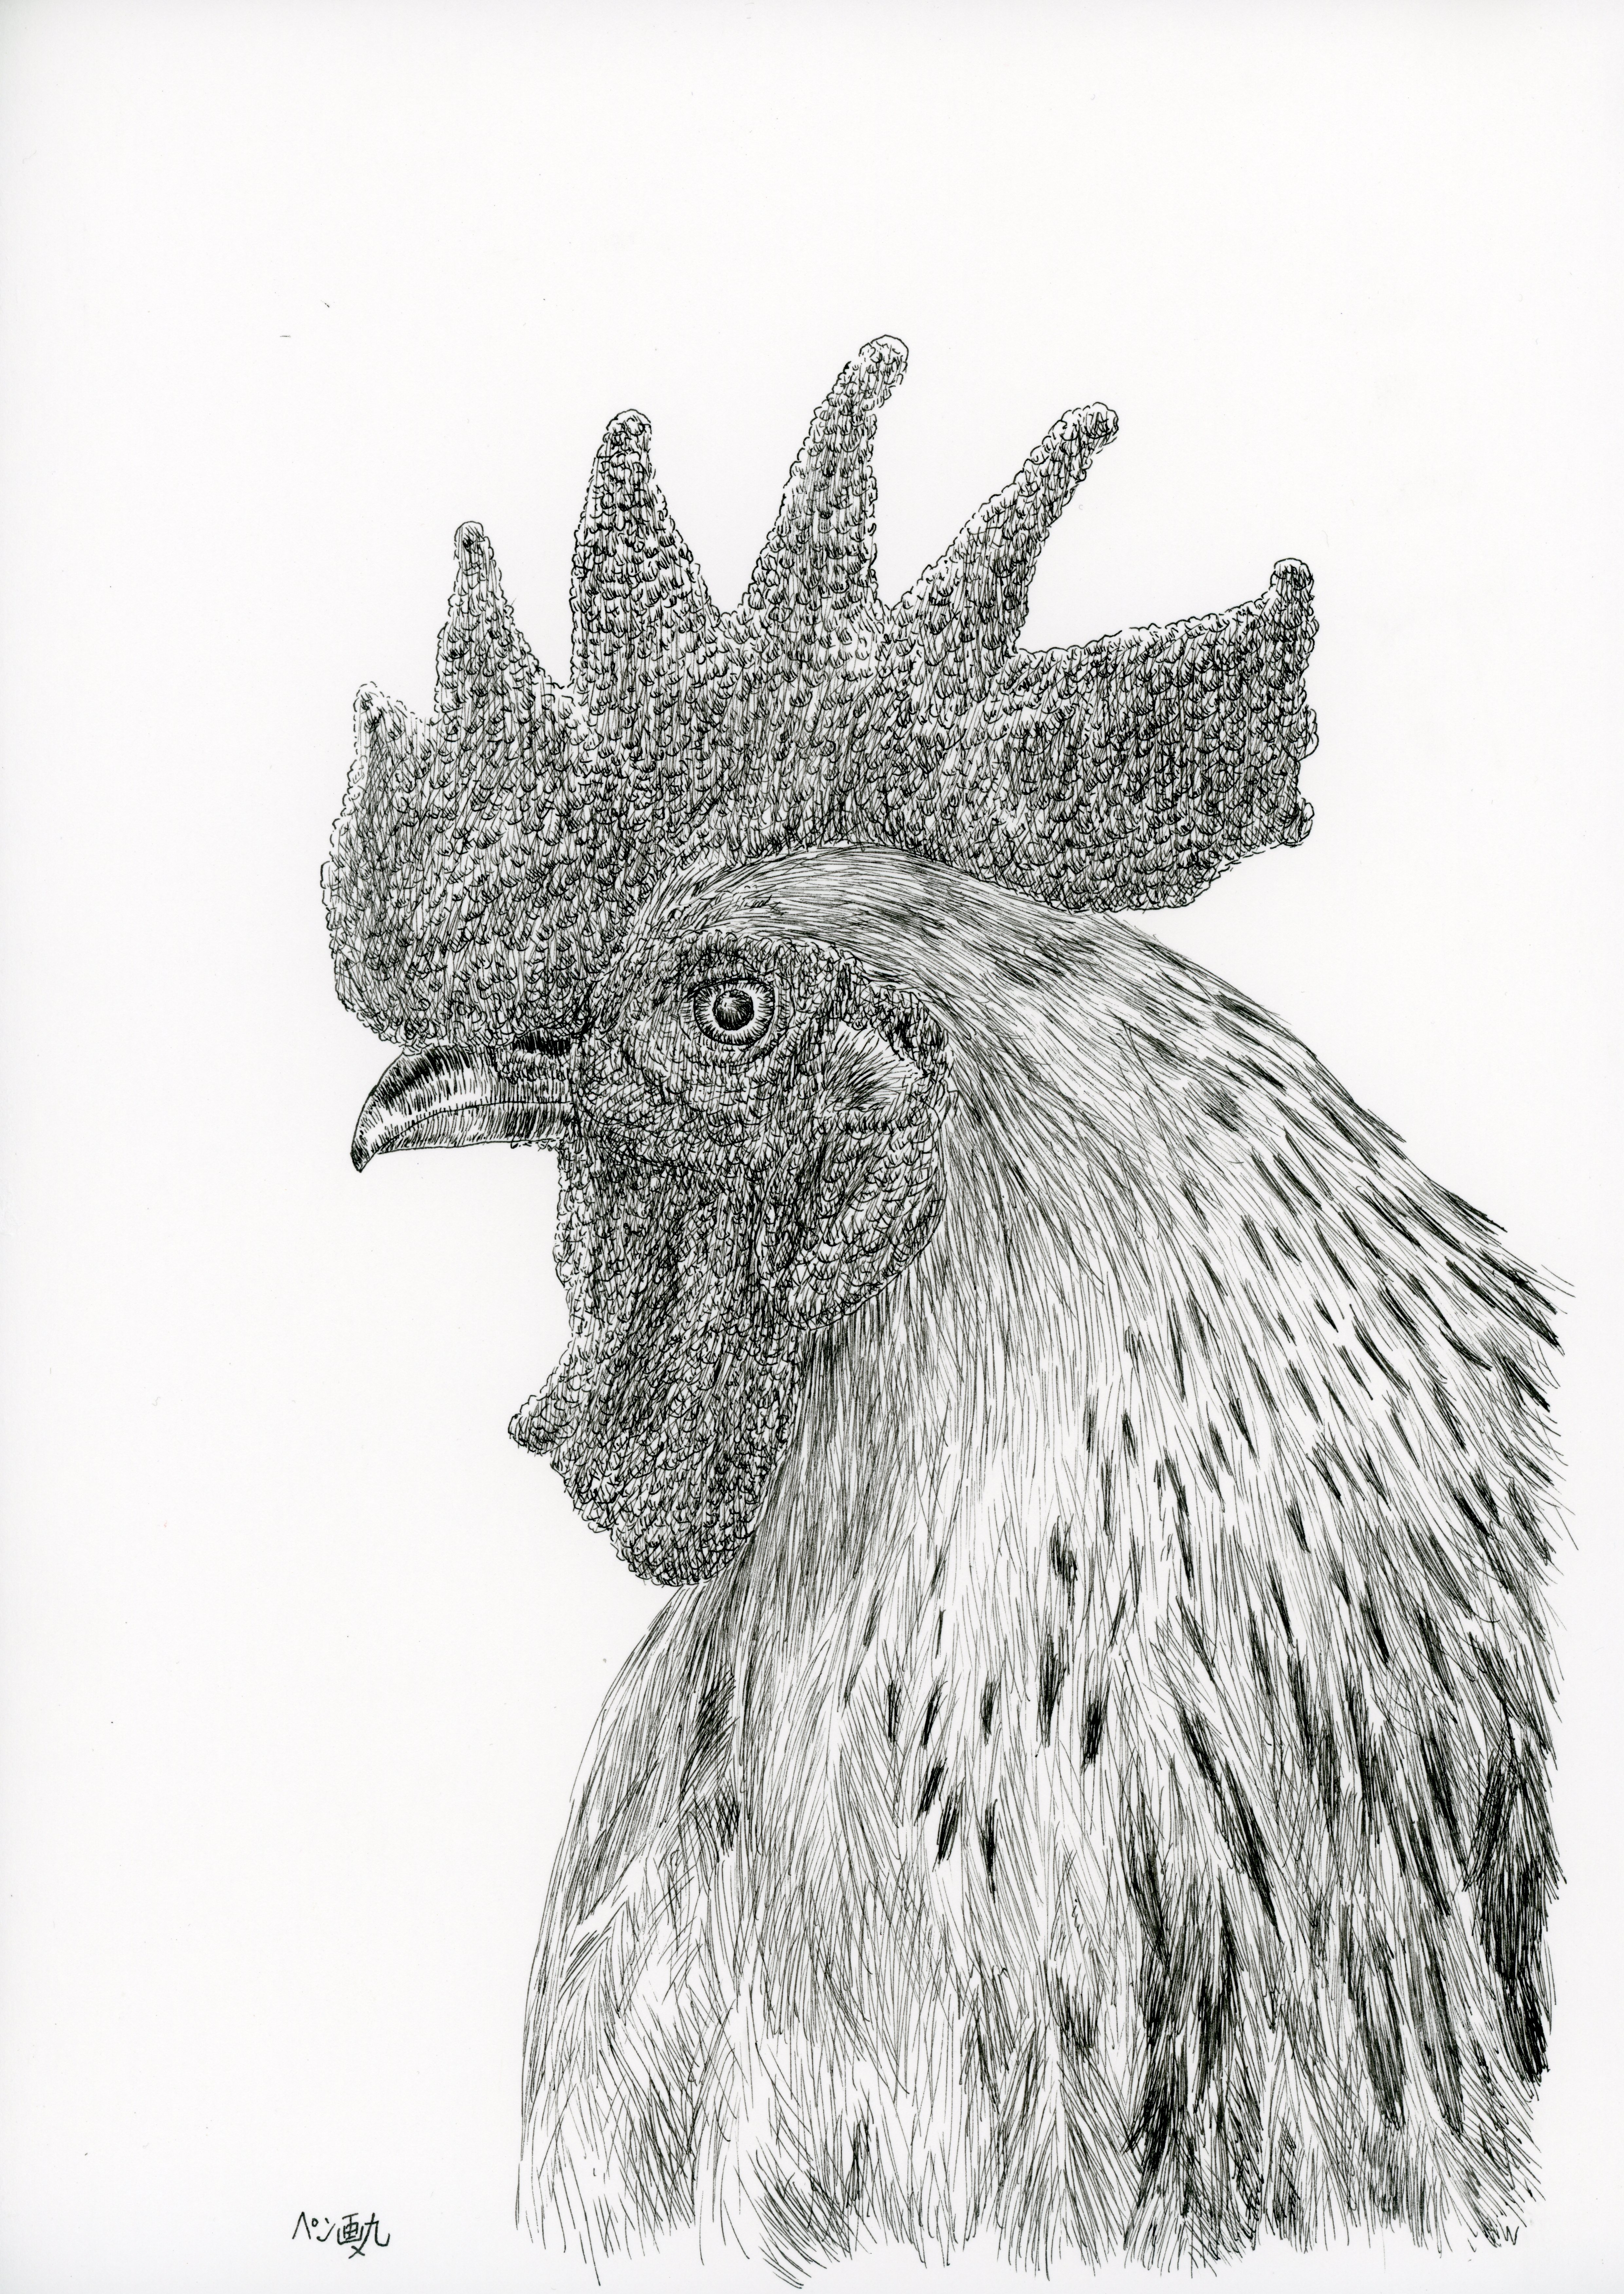
How to Draw a Rooster in Pen and Ink
pengamaru
How to draw in pen and ink
Hello, I’m Pengamaru.
If so, this article is for you!
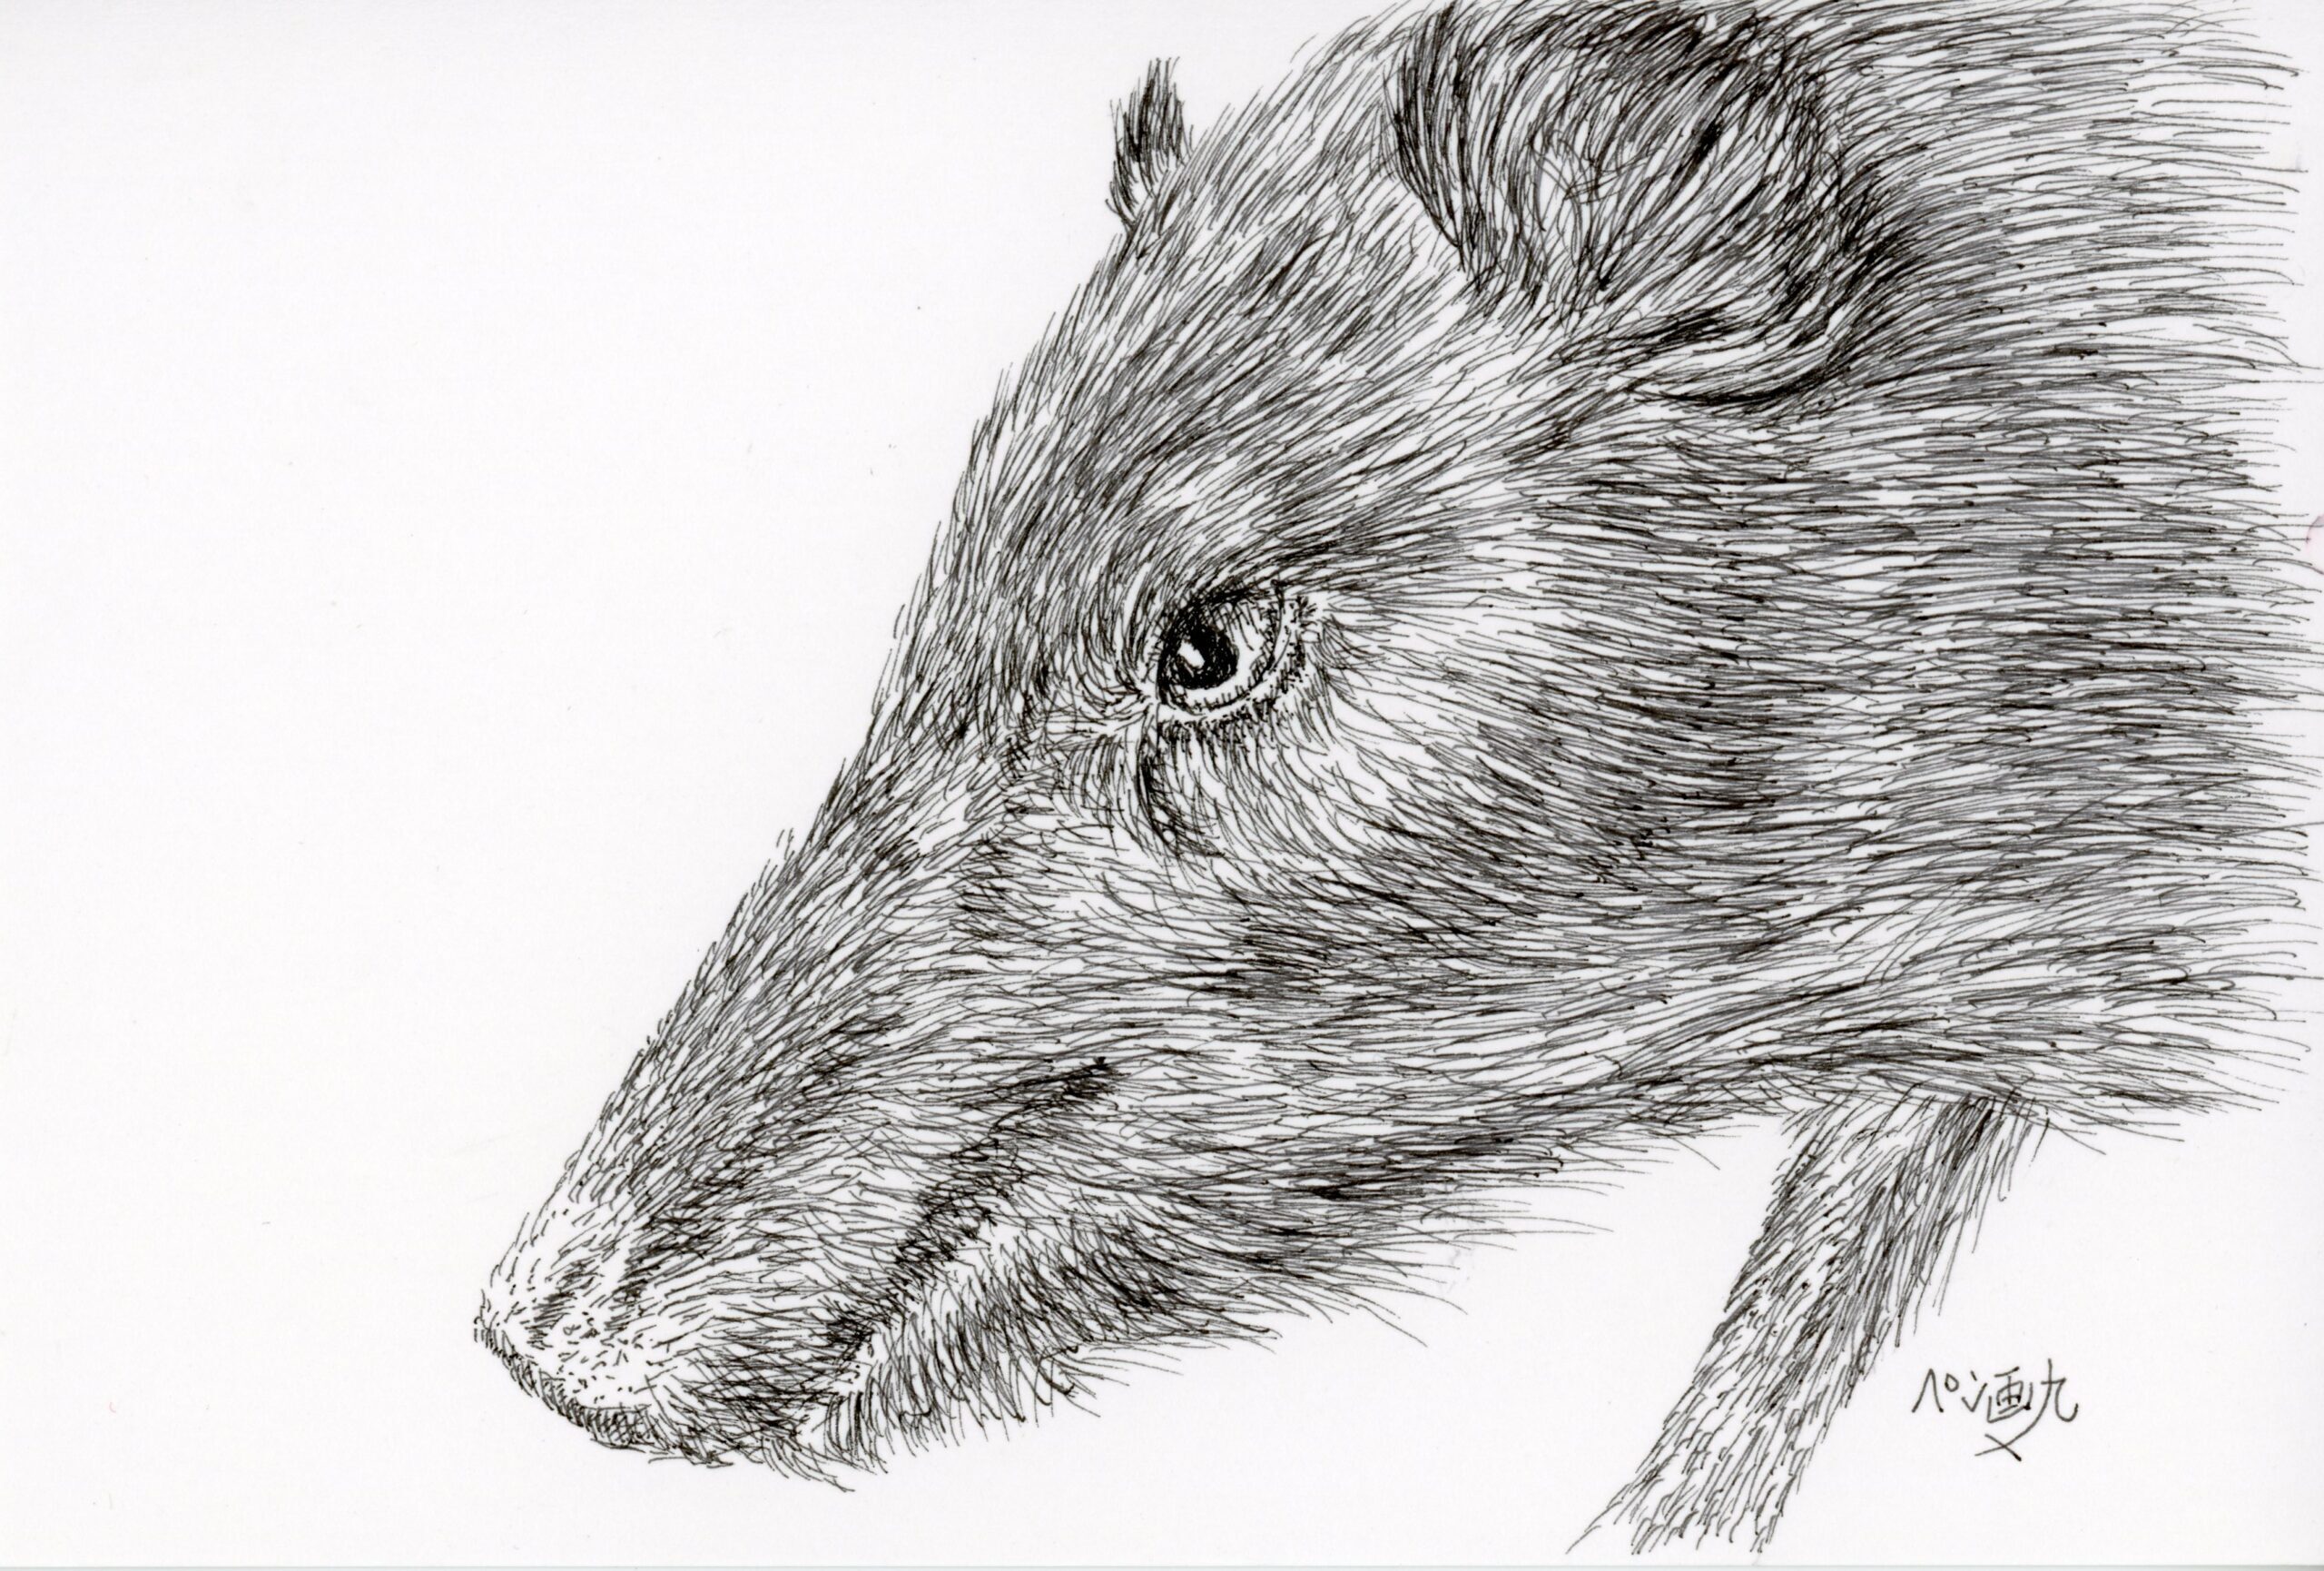
We will take a detailed look at how to draw a pen illustration of a wild boar specimen.
In this article, you will learn
Pen drawing is an art form that, despite using minimal tools, allows for highly intricate and expressive results.
It is especially well-suited for depicting the texture of fur and shadows, making it an exciting challenge to draw animals with thick fur, like wild boars.
This guide carefully explains each step, from sketching to inking and finishing, so that even beginners can follow along with ease.
Now, let’s step into the world of wild boar pen drawing together!

The subject of this work is a wild boar specimen.
Wild boars (Sus scrofa) belong to the Suidae family in the order Artiodactyla.
For this project, we’ll focus on a small wild boar specimen.
Instead of drawing the entire body, we’ll concentrate on a side profile of its face.
The light source is set to come from the front-left direction.
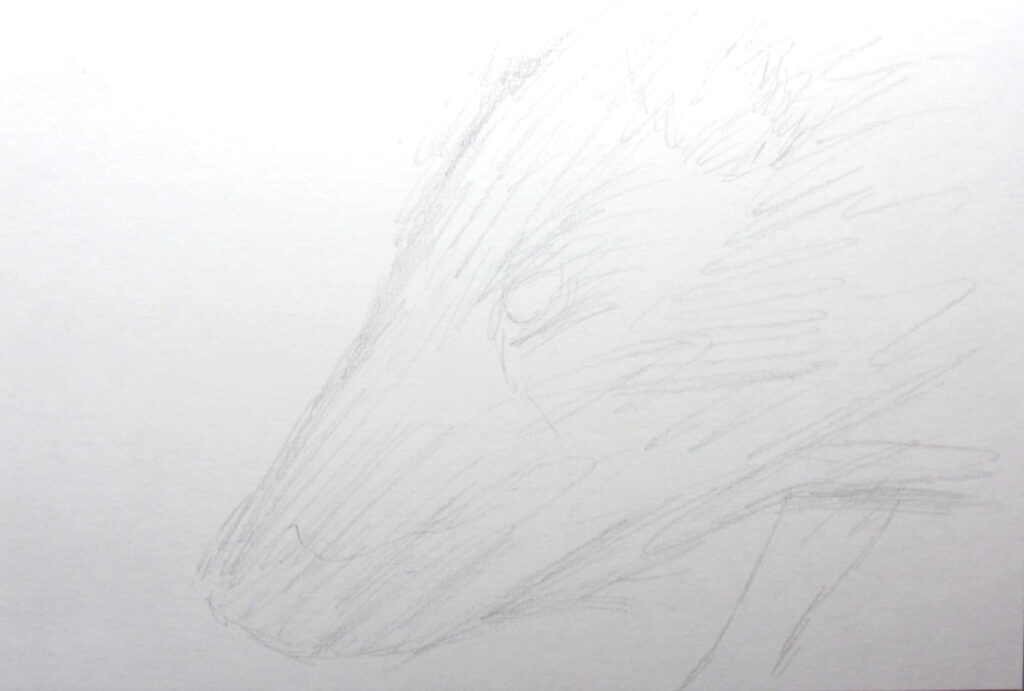
Start by using a pencil to create rough outlines.
At this stage, loosely determine the shape of the head and the position of the eyes.
Focus on the overall balance rather than getting caught up in details.
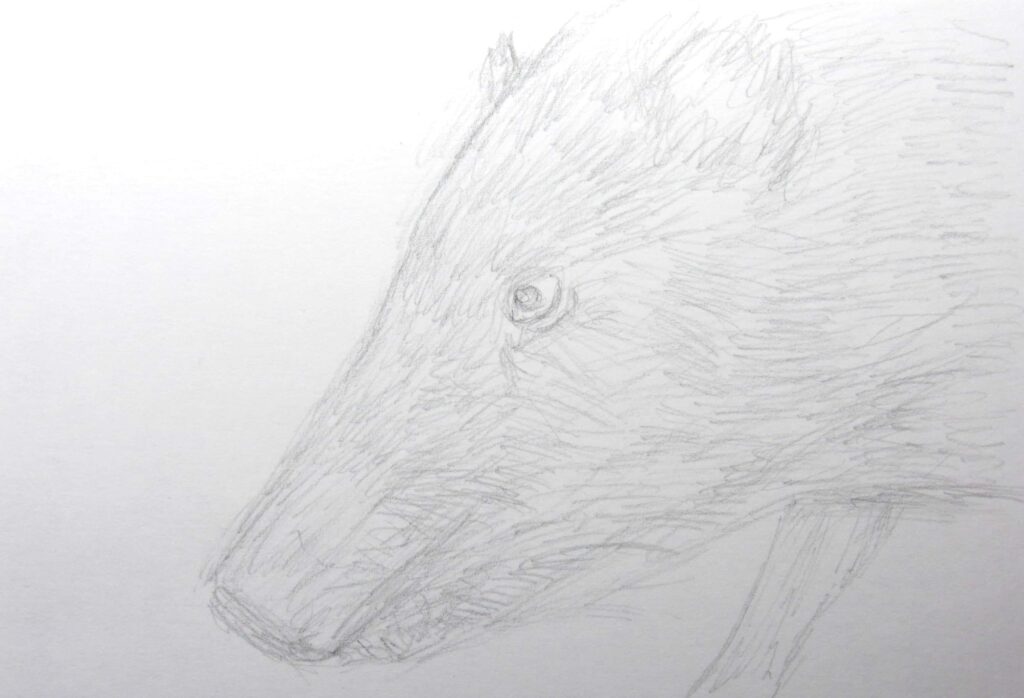
Build upon the rough outlines, gradually adding details.
Pay attention to the direction and length of the fur as you refine the head’s contour and the position of the eyes.
Capturing the wild boar’s distinct features at this stage is crucial.
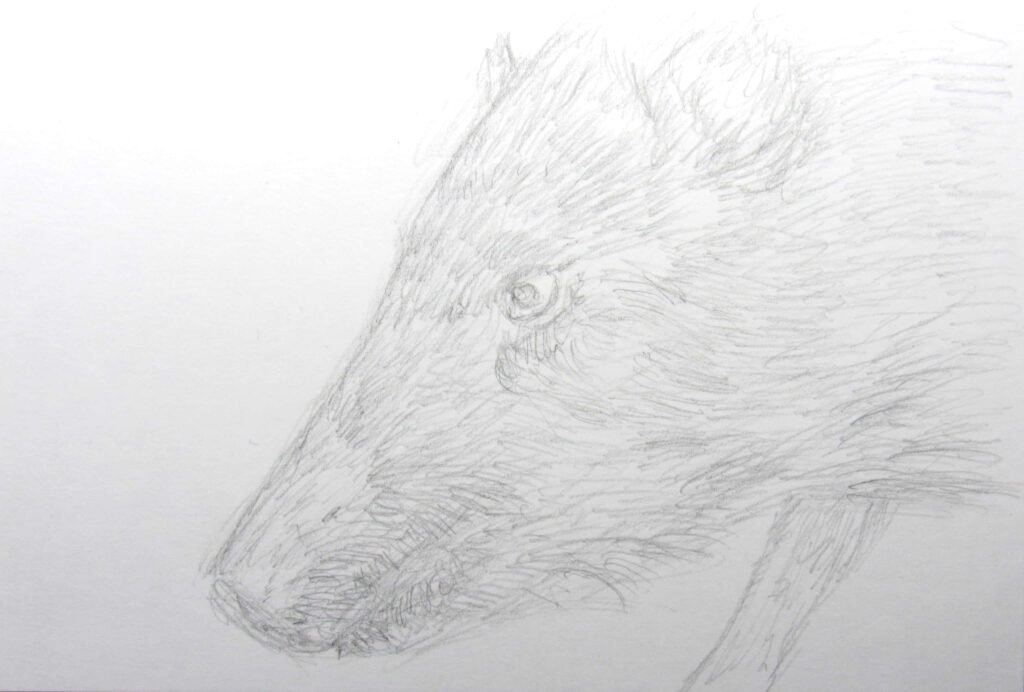
Sketch the direction of the fur.
Pay special attention to the fur around the nose and eyes.
Now, switch to your pen. Begin by drawing the contours with strokes that mimic fur.
Then, add finer details to show the direction of the fur more clearly.
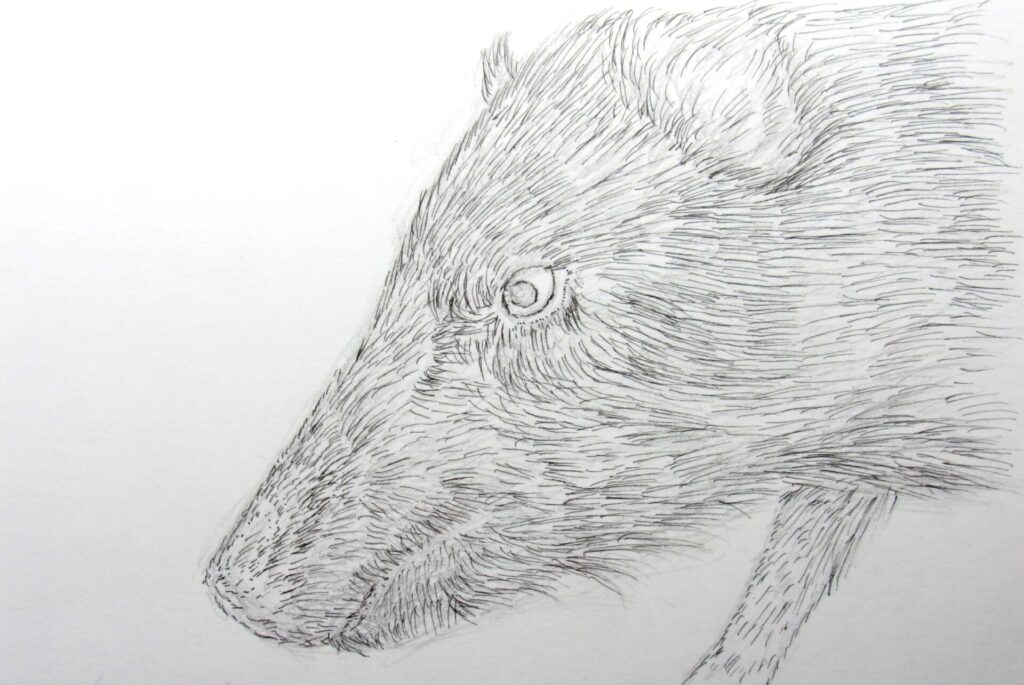
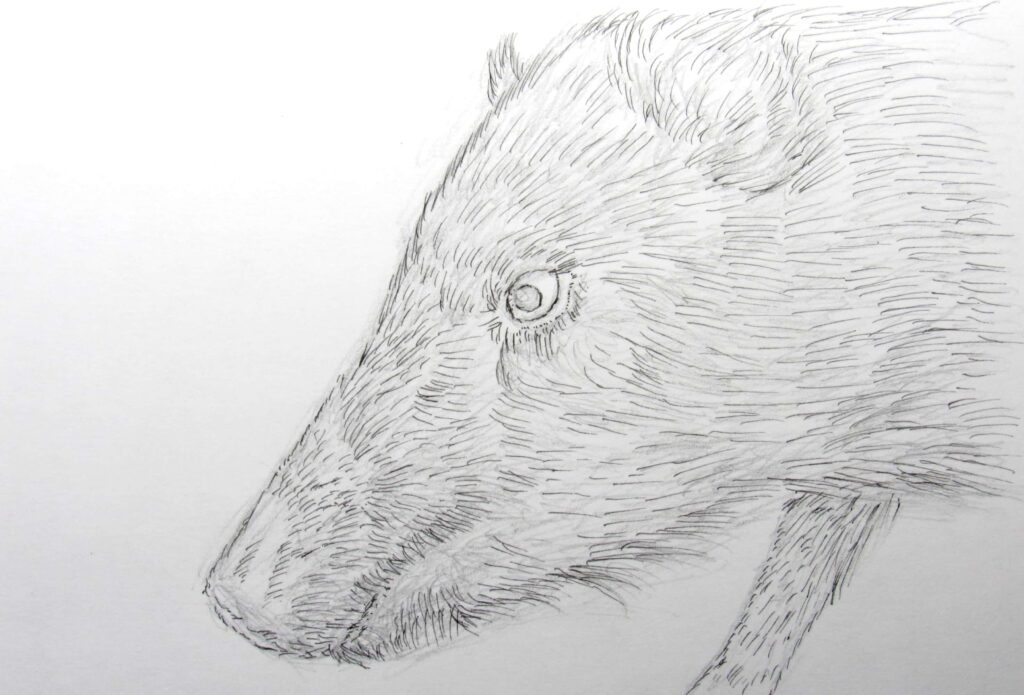
Draw fur around areas like the eyes, the junction between the head and body, the nose, and the jaw.
Refer to the preliminary sketch to guide where the fur grows and its direction and length.
Use strokes starting at the base of the hair and extending outward to create natural-looking fur flow.
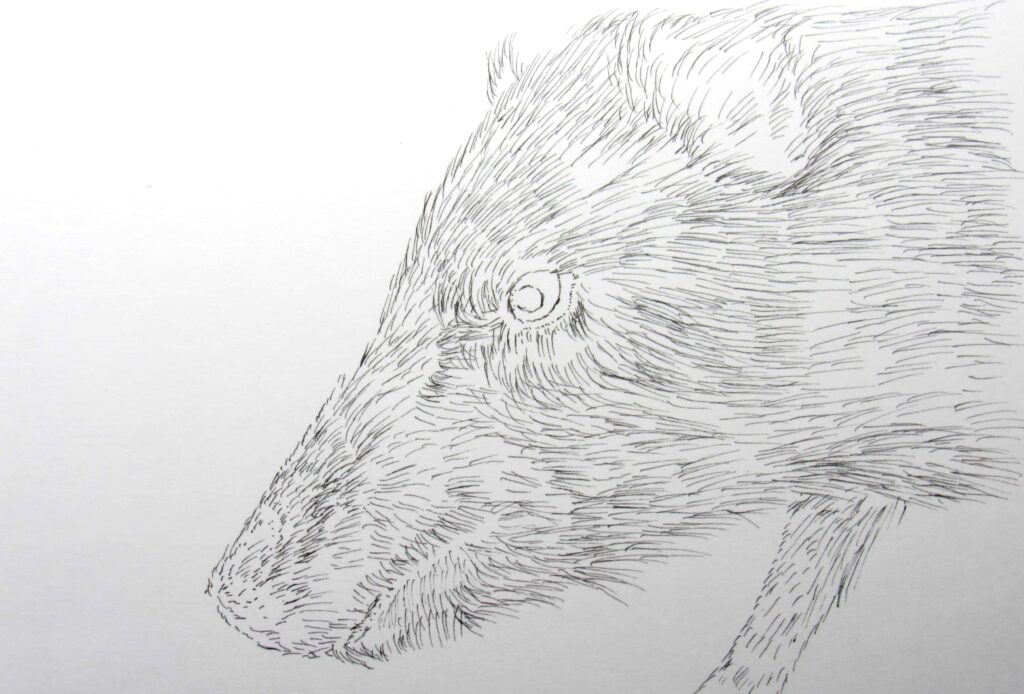
Once you’ve made significant progress, erase the pencil marks with an eraser.
Be gentle and erase in one direction to avoid damaging the paper.
Pressing too hard can flatten the paper’s texture, which may result in overly thick lines when adding more ink later.
Using the previous ink lines as a guide, add more fur to increase density.
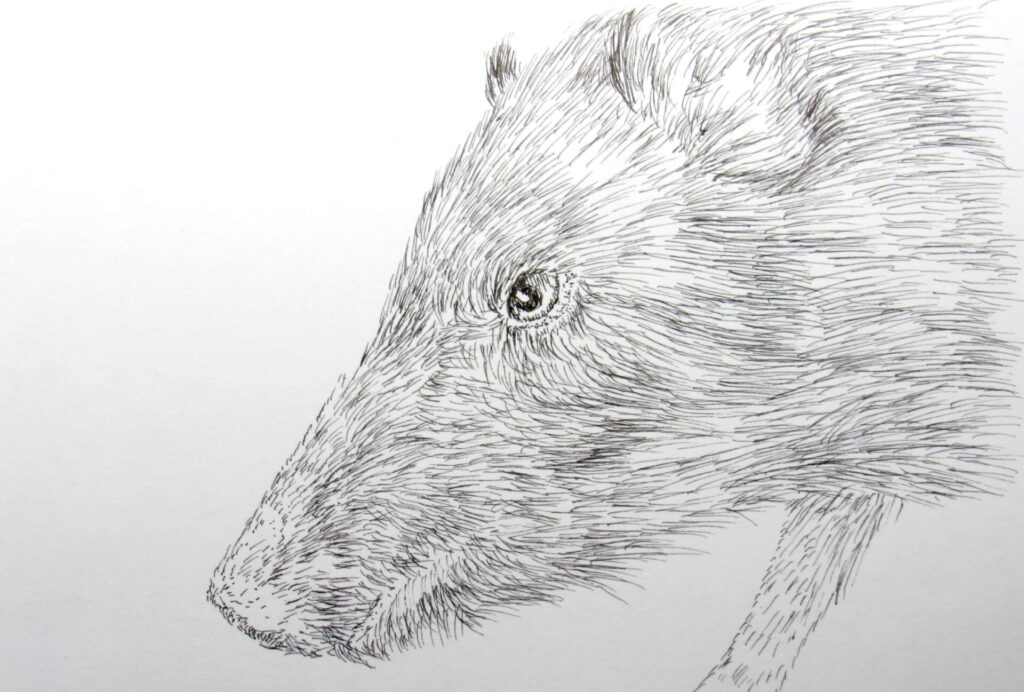
Next, work on the eyes by drawing the pupils and leaving the highlights blank (preserving the white of the paper).
Add fur to denser, darker areas where the light doesn’t reach, or where the fur is naturally darker.
Pay particular attention to shadowed areas like the mouth and legs.
Shade areas like the mouth, jaw, and cheeks to depict the face’s contours.
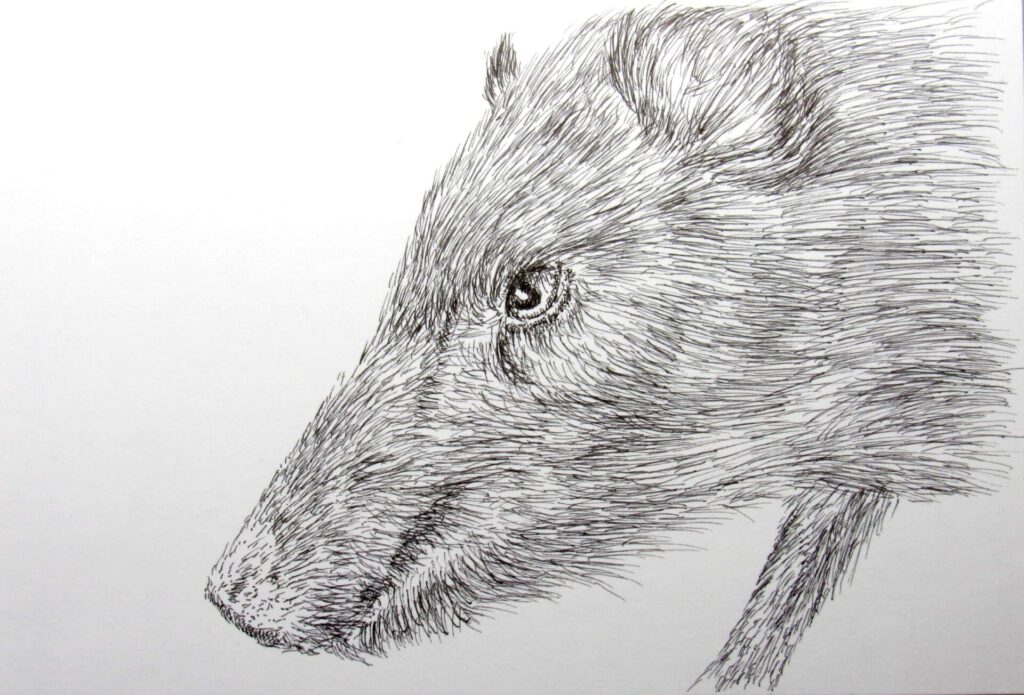
Adjust fine details while maintaining overall balance.

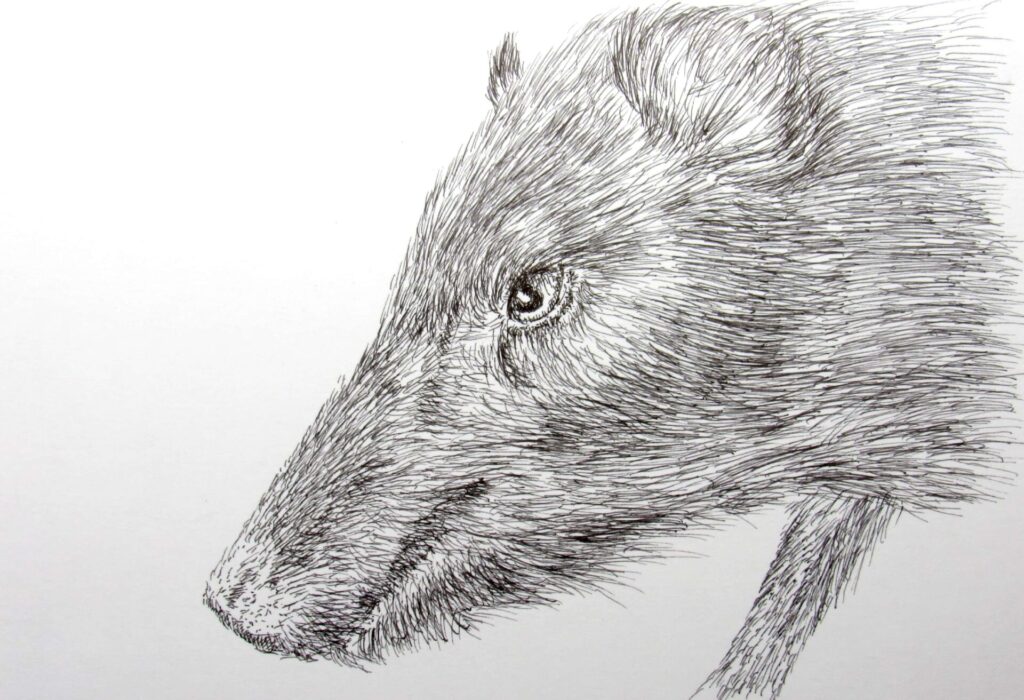
Finally, review the entire piece and make any necessary adjustments.
Add extra lines to areas like the eyes, behind the ears, and legs to complete the illustration.
Don’t forget to sign your work.
We’ve provided a detailed guide on how to draw a pen illustration of a wild boar.
Pen art is an excellent medium for expressing fine details, especially for textures like fur and shadows.
By following the steps outlined in this guide, you can create a realistic and captivating piece.
The techniques of pen art can also be applied to other animals or landscapes, so feel free to try your hand at various subjects.
Thank you for reading until the end!
Stay tuned for more tips and tricks on pen art in the future.