How to Draw a Tennis Ball in Pen and Ink
Introduction
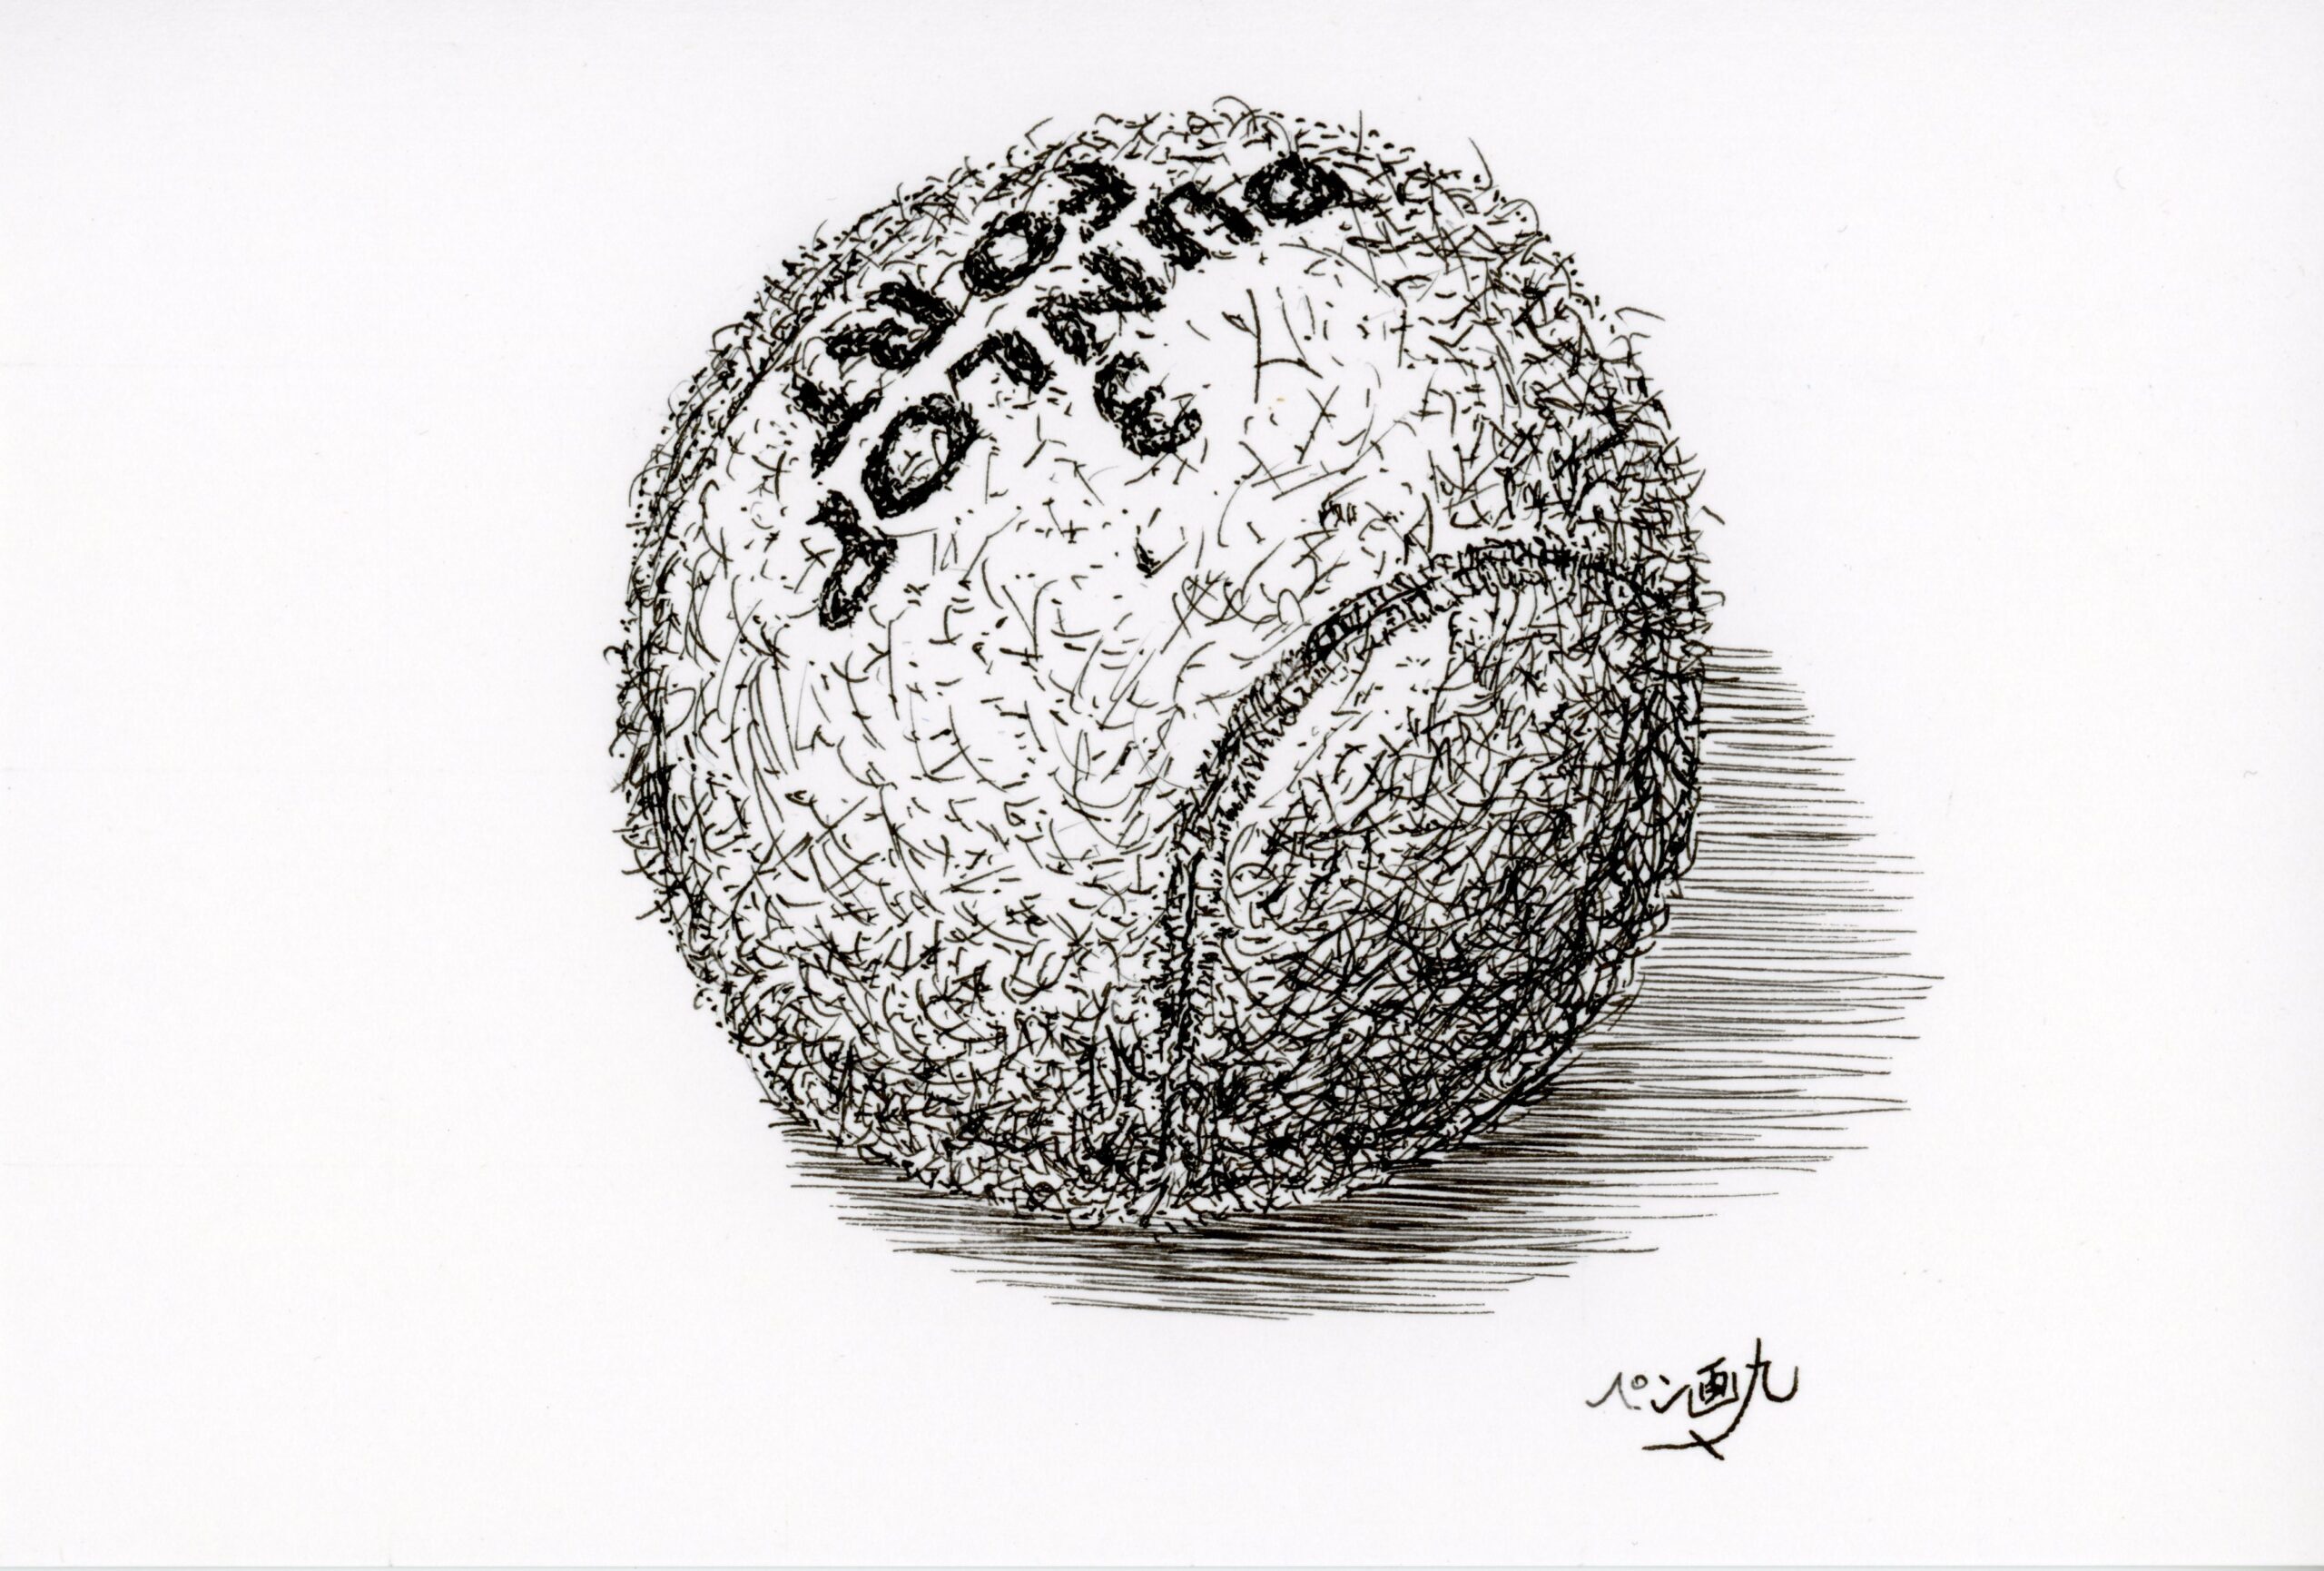
Hello, I’m Pengamaru. This time, I chose an old tennis ball as an attractive motif.
Unlike a new ball, an old ball’s surface has dirt and cracks in the grooves, giving it a unique charm and appeal. In this article, I will explain in detail how to draw such an old tennis ball in pen and ink.
Pen drawing allows you to express the texture and three-dimensionality of a motif by drawing fine details. Especially, the depiction of the fuzz on the surface of the tennis ball and the shadows requires some ingenuity. I hope you can learn the basics and applications of pen drawing through this article and use it in your artwork.
Let’s get started!
Tools Used This Time
- G Pen (About G Pen)
- Carbon Ink, Pigment Ink (About Pigiment Ink)
About Tennis Balls

Tennis balls are used in tennis matches and practice. Basically, they have a rubber core covered with fibers called felt, which gives them their unique elasticity and durability. The surface is covered with felt, which is an important element that greatly affects the ball’s performance and durability. We will express this characteristic texture.
Sketching
Preparing the Grid Sheet
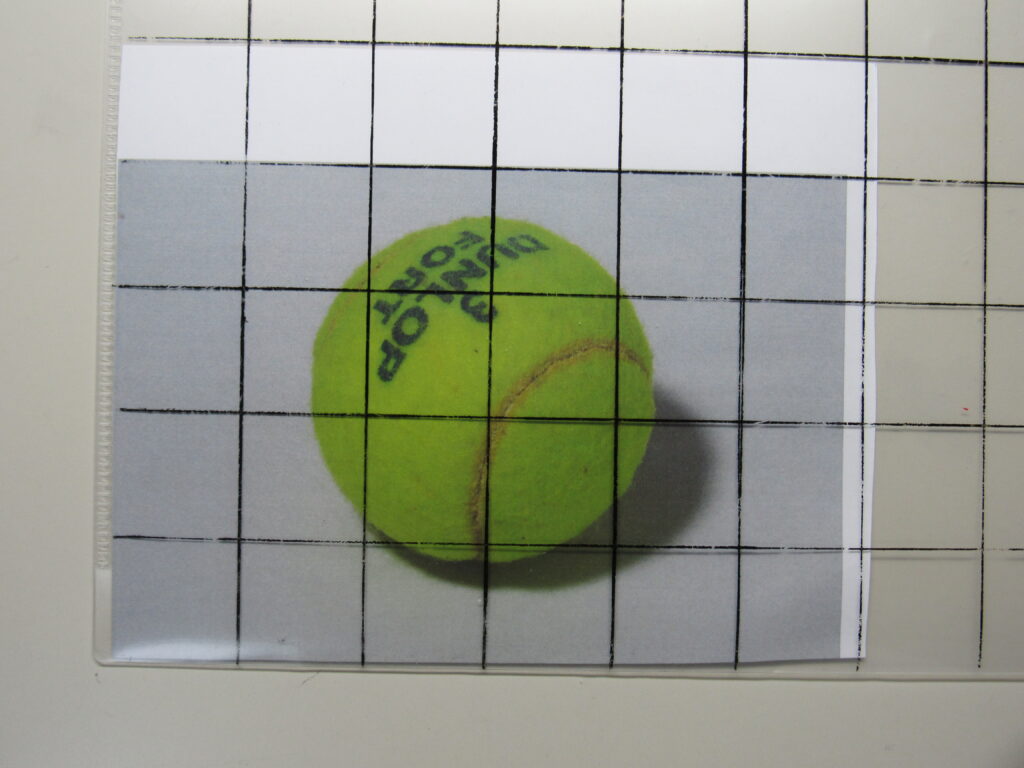
First, use a grid sheet to get the shape. Draw the sketch with a pencil. This time, I will introduce a method of taking the shape using a clear file with a grid.
Prepare a clear file with a grid of 2.5 cm squares. Print out the image of the motif and put it inside the grid clear file. This time, I printed it out in postcard size.
Drawing the Grid on the Paper

Draw a grid of 2.5 cm squares on the paper with a pencil. The paper used is postcard-sized Kent paper.
Getting the Shape with the Grid

Use the grid to draw the outline of the ball, the white lines, and the shadow on the floor with a pencil.
Drawing the Details of the Sketch

Draw the details based on the grid. Draw the letters, the boundaries with the dark parts, and the horizontal lines of the shadow on the floor.
Inking
Drawing the Outline

Draw with a pen. This time, I used a G pen.
First, draw the outline. Since the surface is covered with fuzz, draw it with stippling instead of a single line. Draw the outer frame of the letters and a bit of the rough surface.
Drawing the Surface Fuzz and the Shadow on the Stand

Draw the worn-out fuzzy surface and the shadow on the stand.
Drawing the Shadows and Other Details

Draw the shadows and other details of the ball. Draw the dark parts where the light does not reach, the letters, and the shadow on the stand. The shadow is darkest near the place where the ball touches the floor.
Draw the texture of the fuzz on the surface of the ball in detail. While being conscious of the direction and density of the fuzz, draw with stippling and short lines. Also, draw the grooves and cracks on the ball in detail.
This will express the texture and wear of the old ball. Draw the shadow cast on the floor, being mindful of the direction of the light. By carefully drawing the gradation and shape of the shadow, you can create a three-dimensional effect.
Erasing

When erasing, apply light pressure in one direction to avoid damaging the paper. Be careful not to apply too much force, as the lines will become thicker when you ink over the areas that were rubbed too hard.
Completion
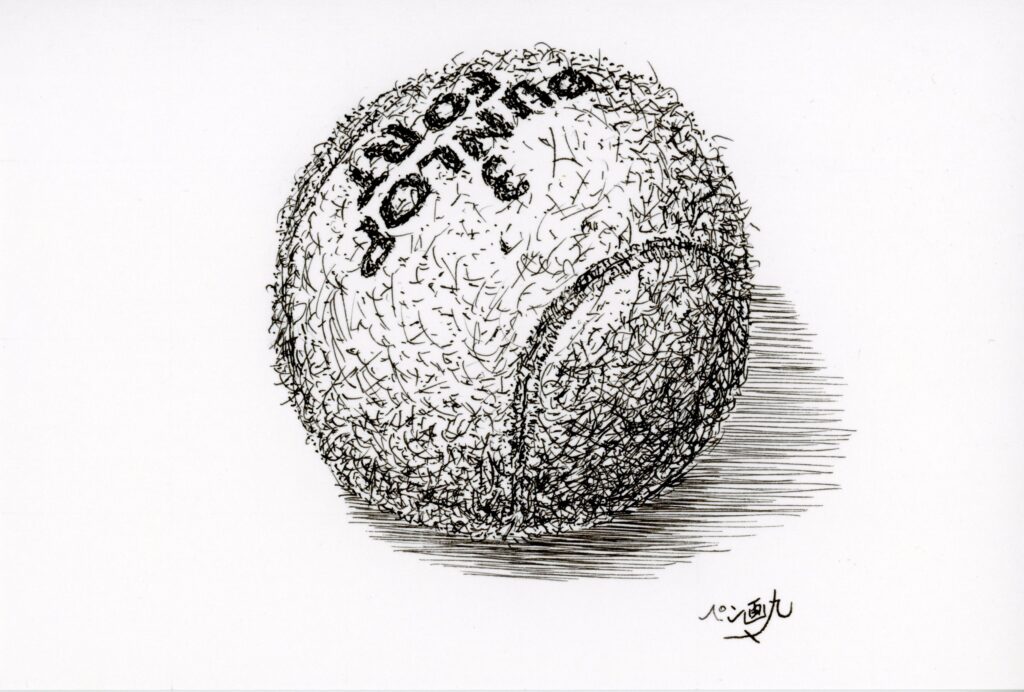
Finally, check the whole picture and add more fuzz and shadows for adjustment.
It’s complete. Sign your work
Conclusion
In this article, I explained in detail how to draw an old tennis ball in pen and ink. From sketching with a grid sheet to inking and detailing, I explained each step carefully. How did you find it?
Pen drawing is a wonderful technique that allows you to express the texture and three-dimensionality of a motif by drawing fine details. Especially, the depiction of the fuzz on the surface of the tennis ball and the shadows requires some ingenuity, but the sense of accomplishment when completed is exceptional.
Thank you for reading to the end. Please look forward to the next time when I will introduce you to the fun world of pen drawing again!
