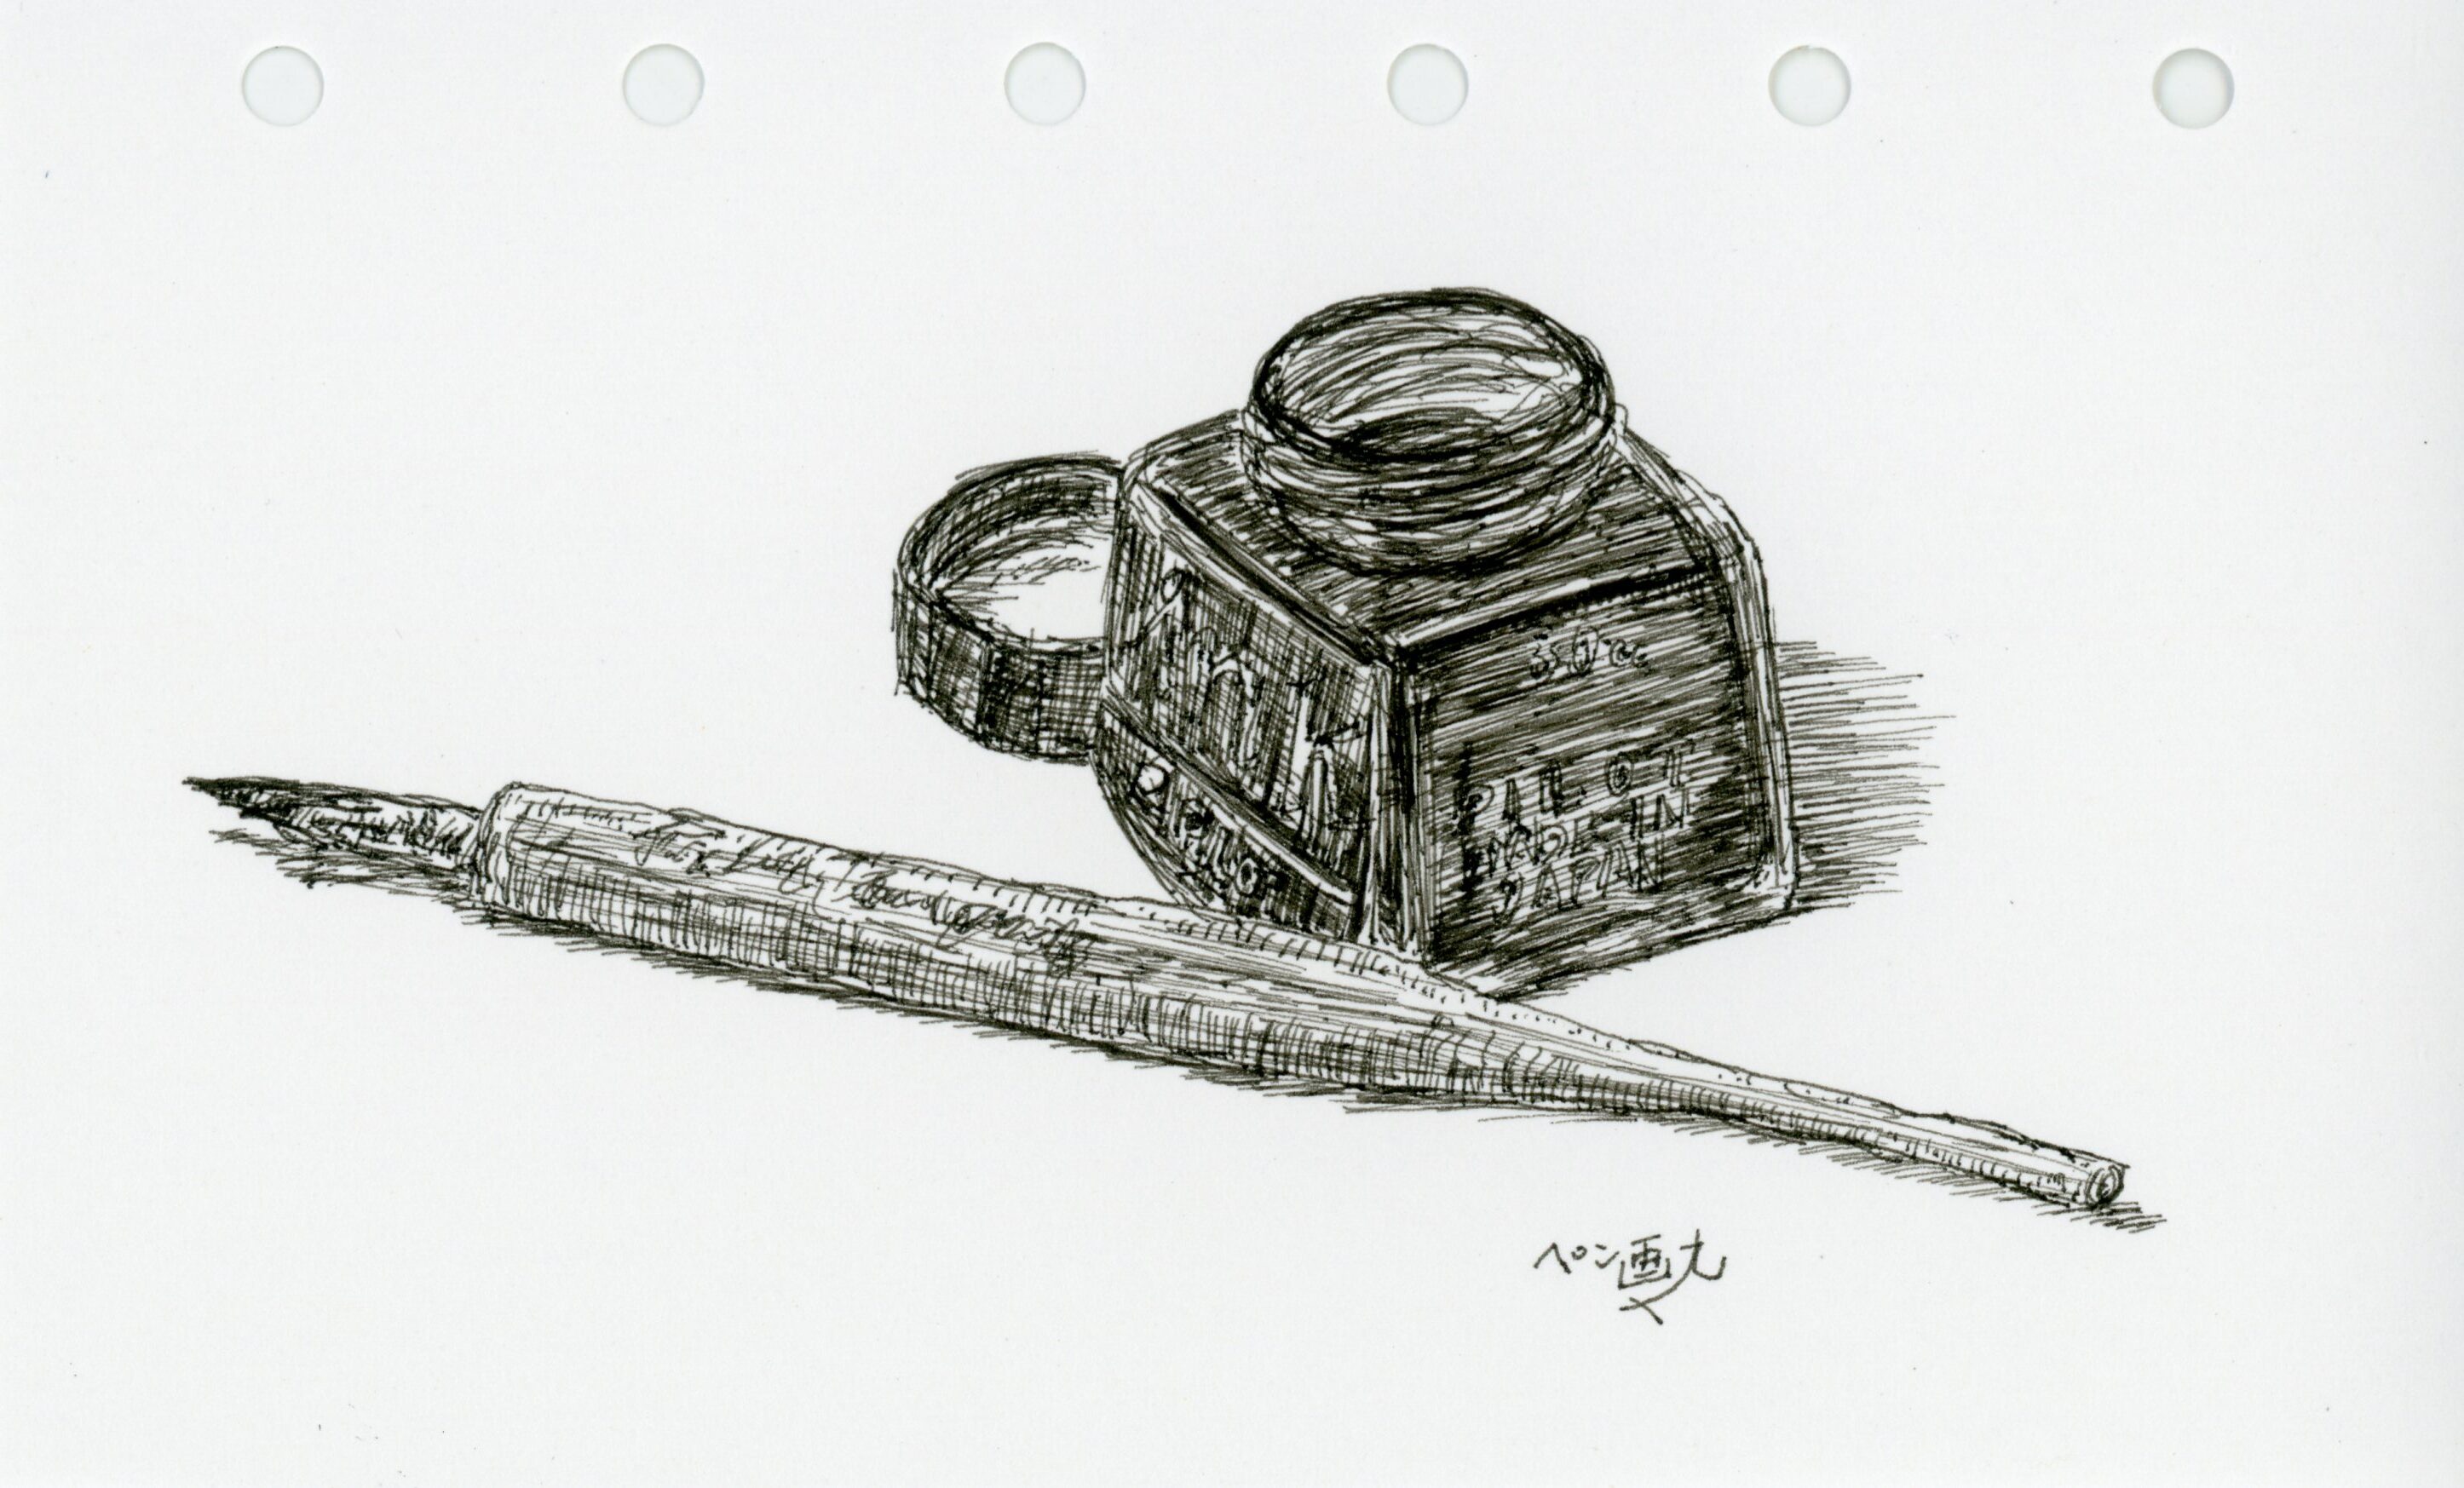
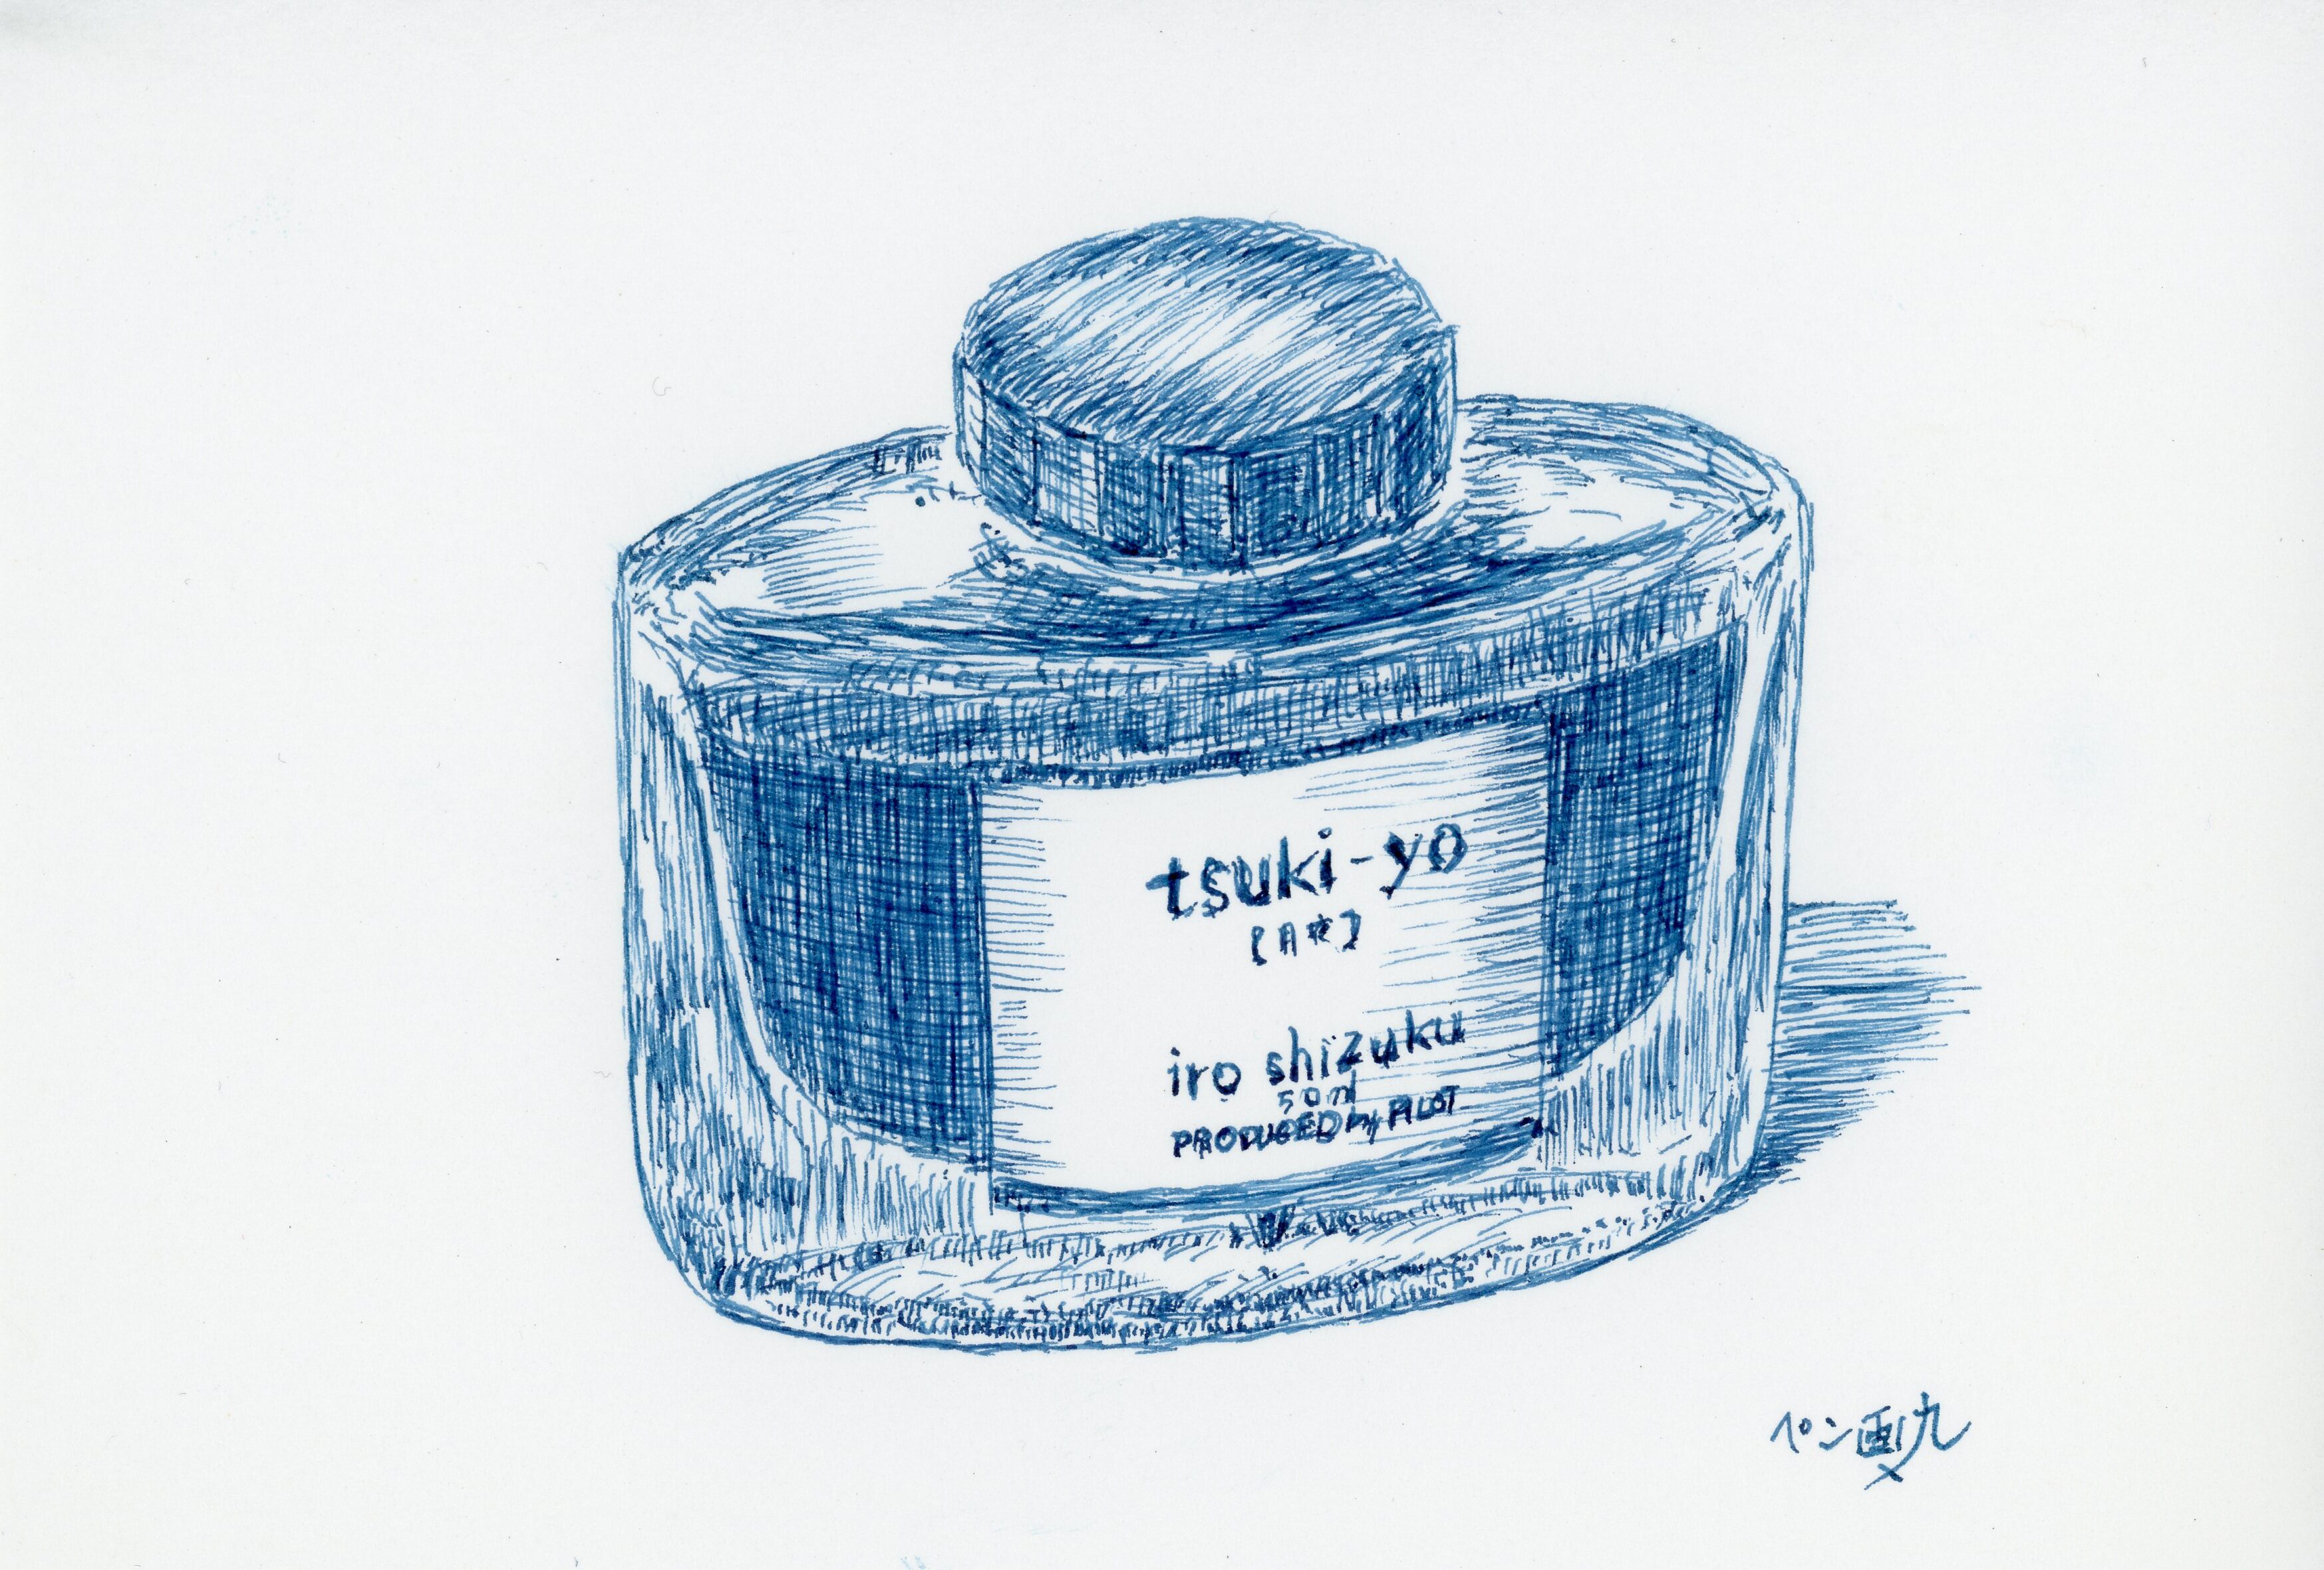
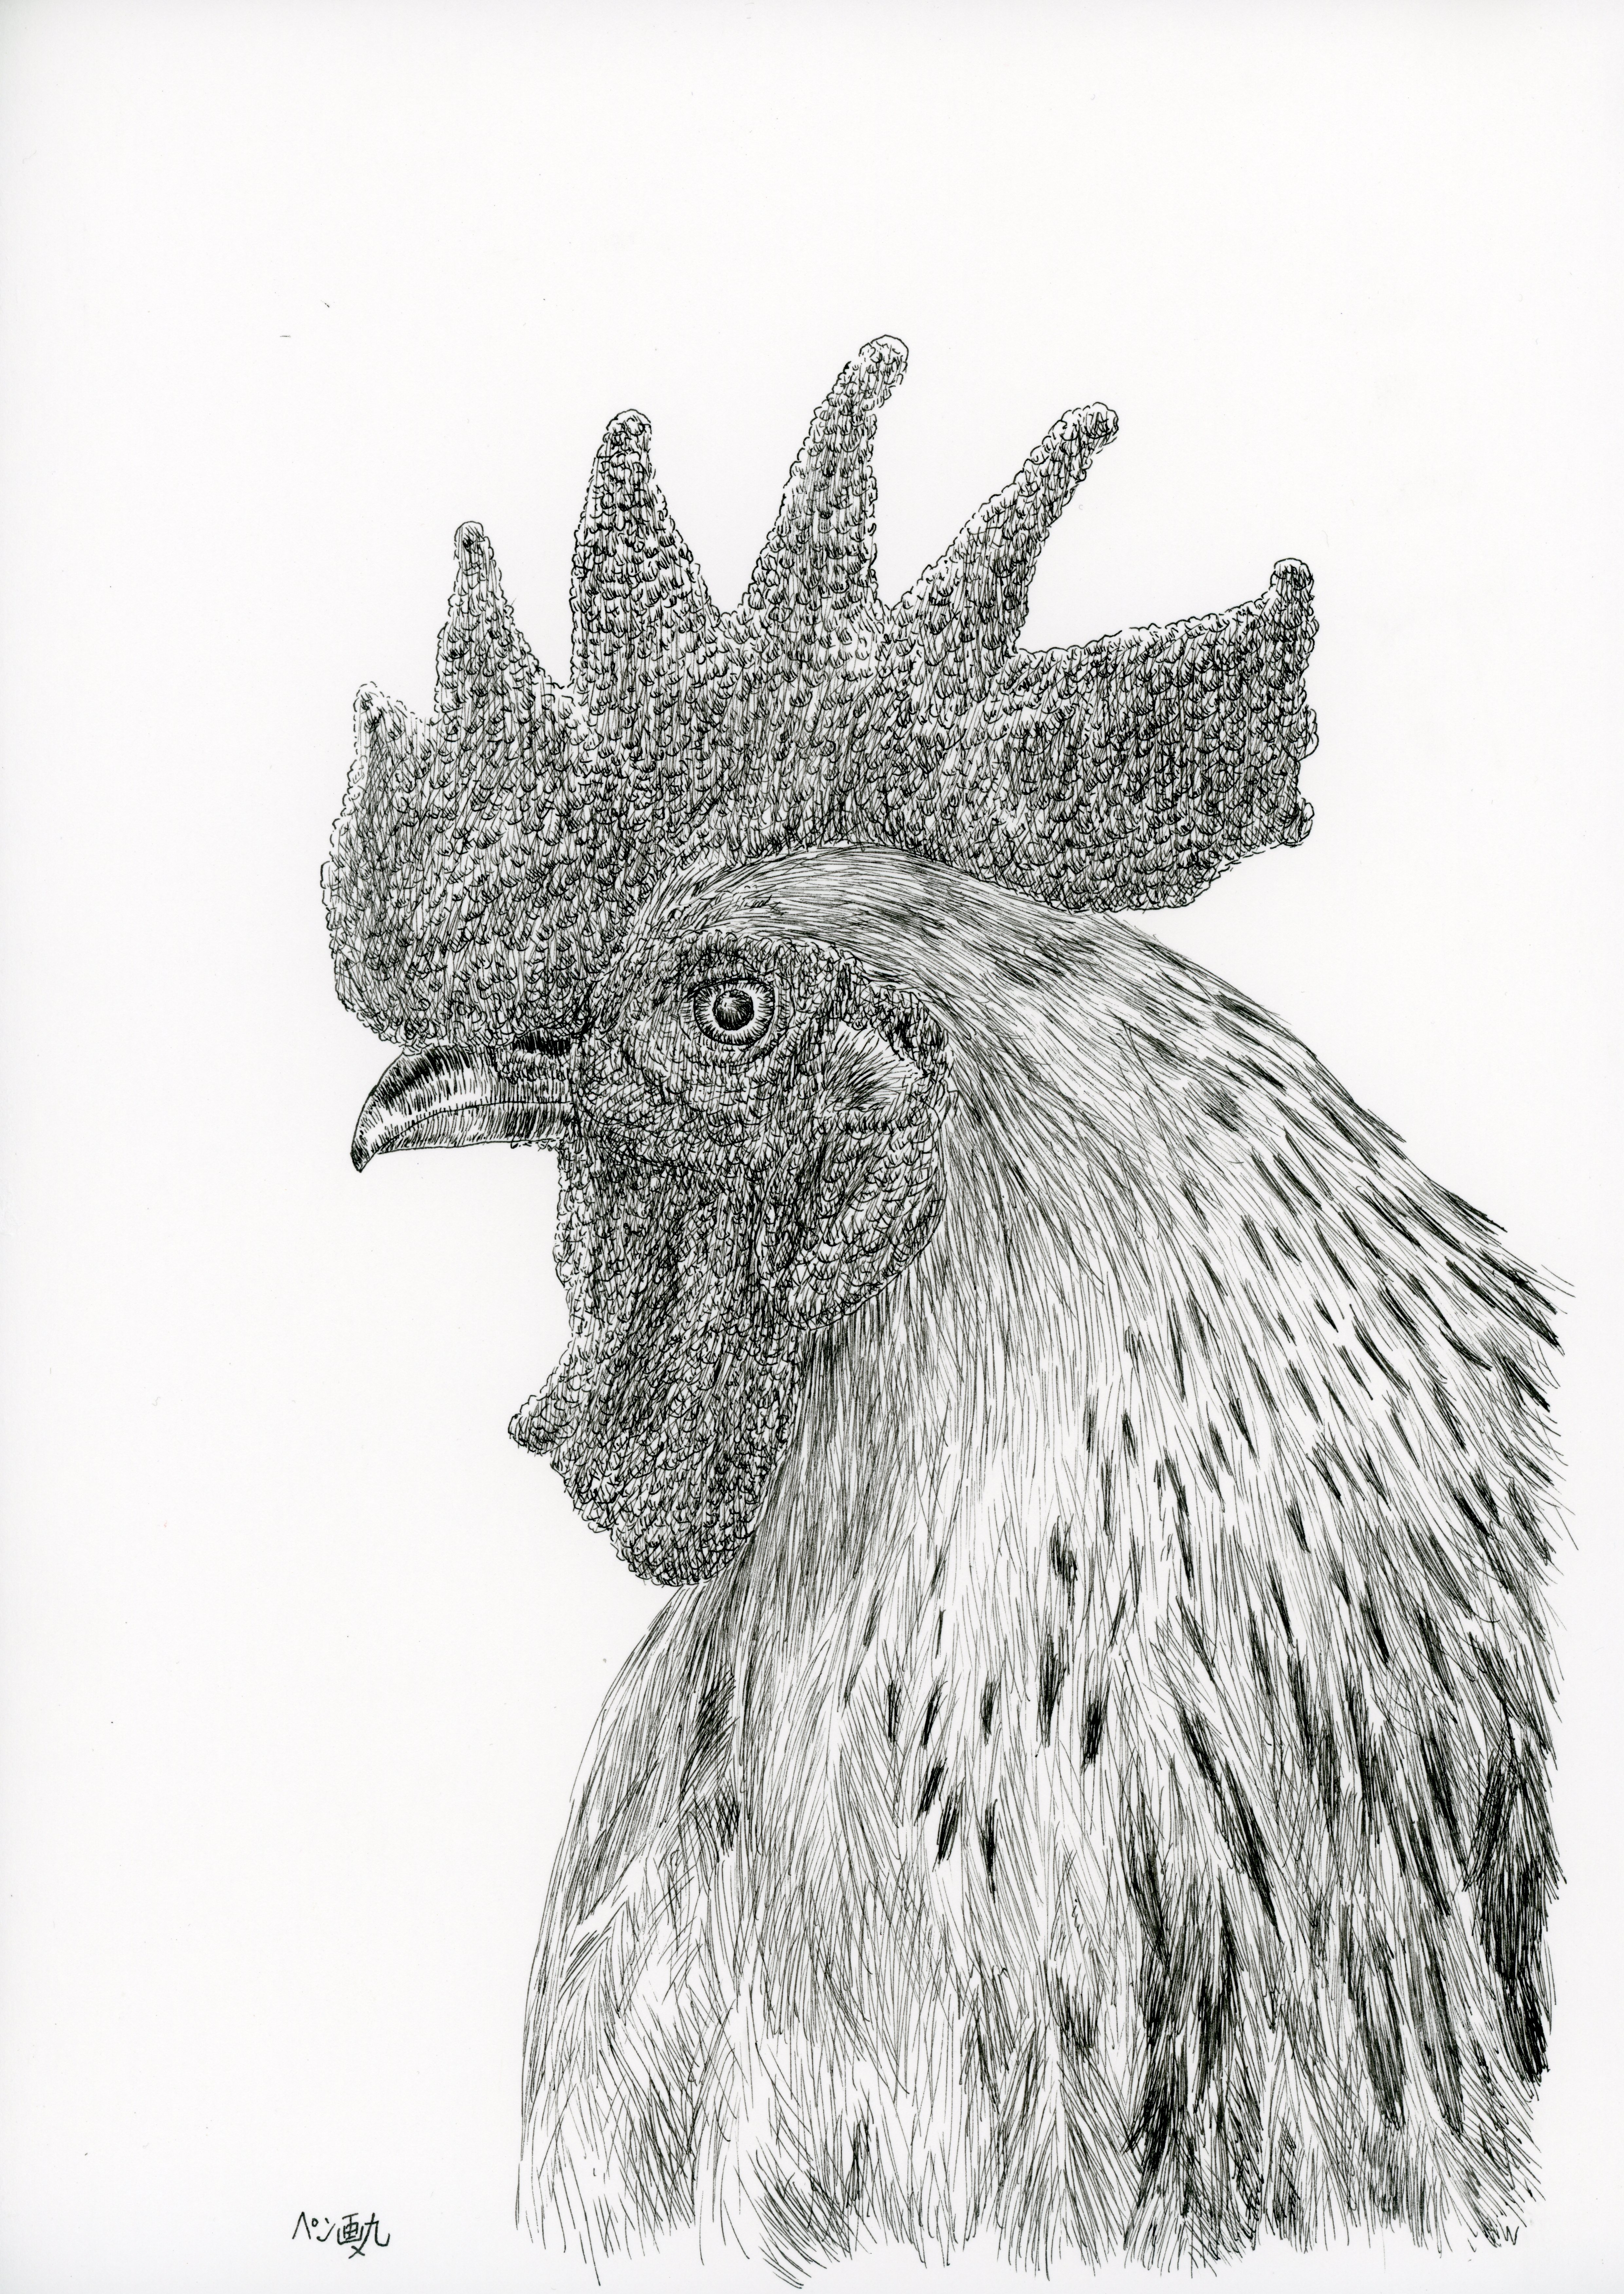
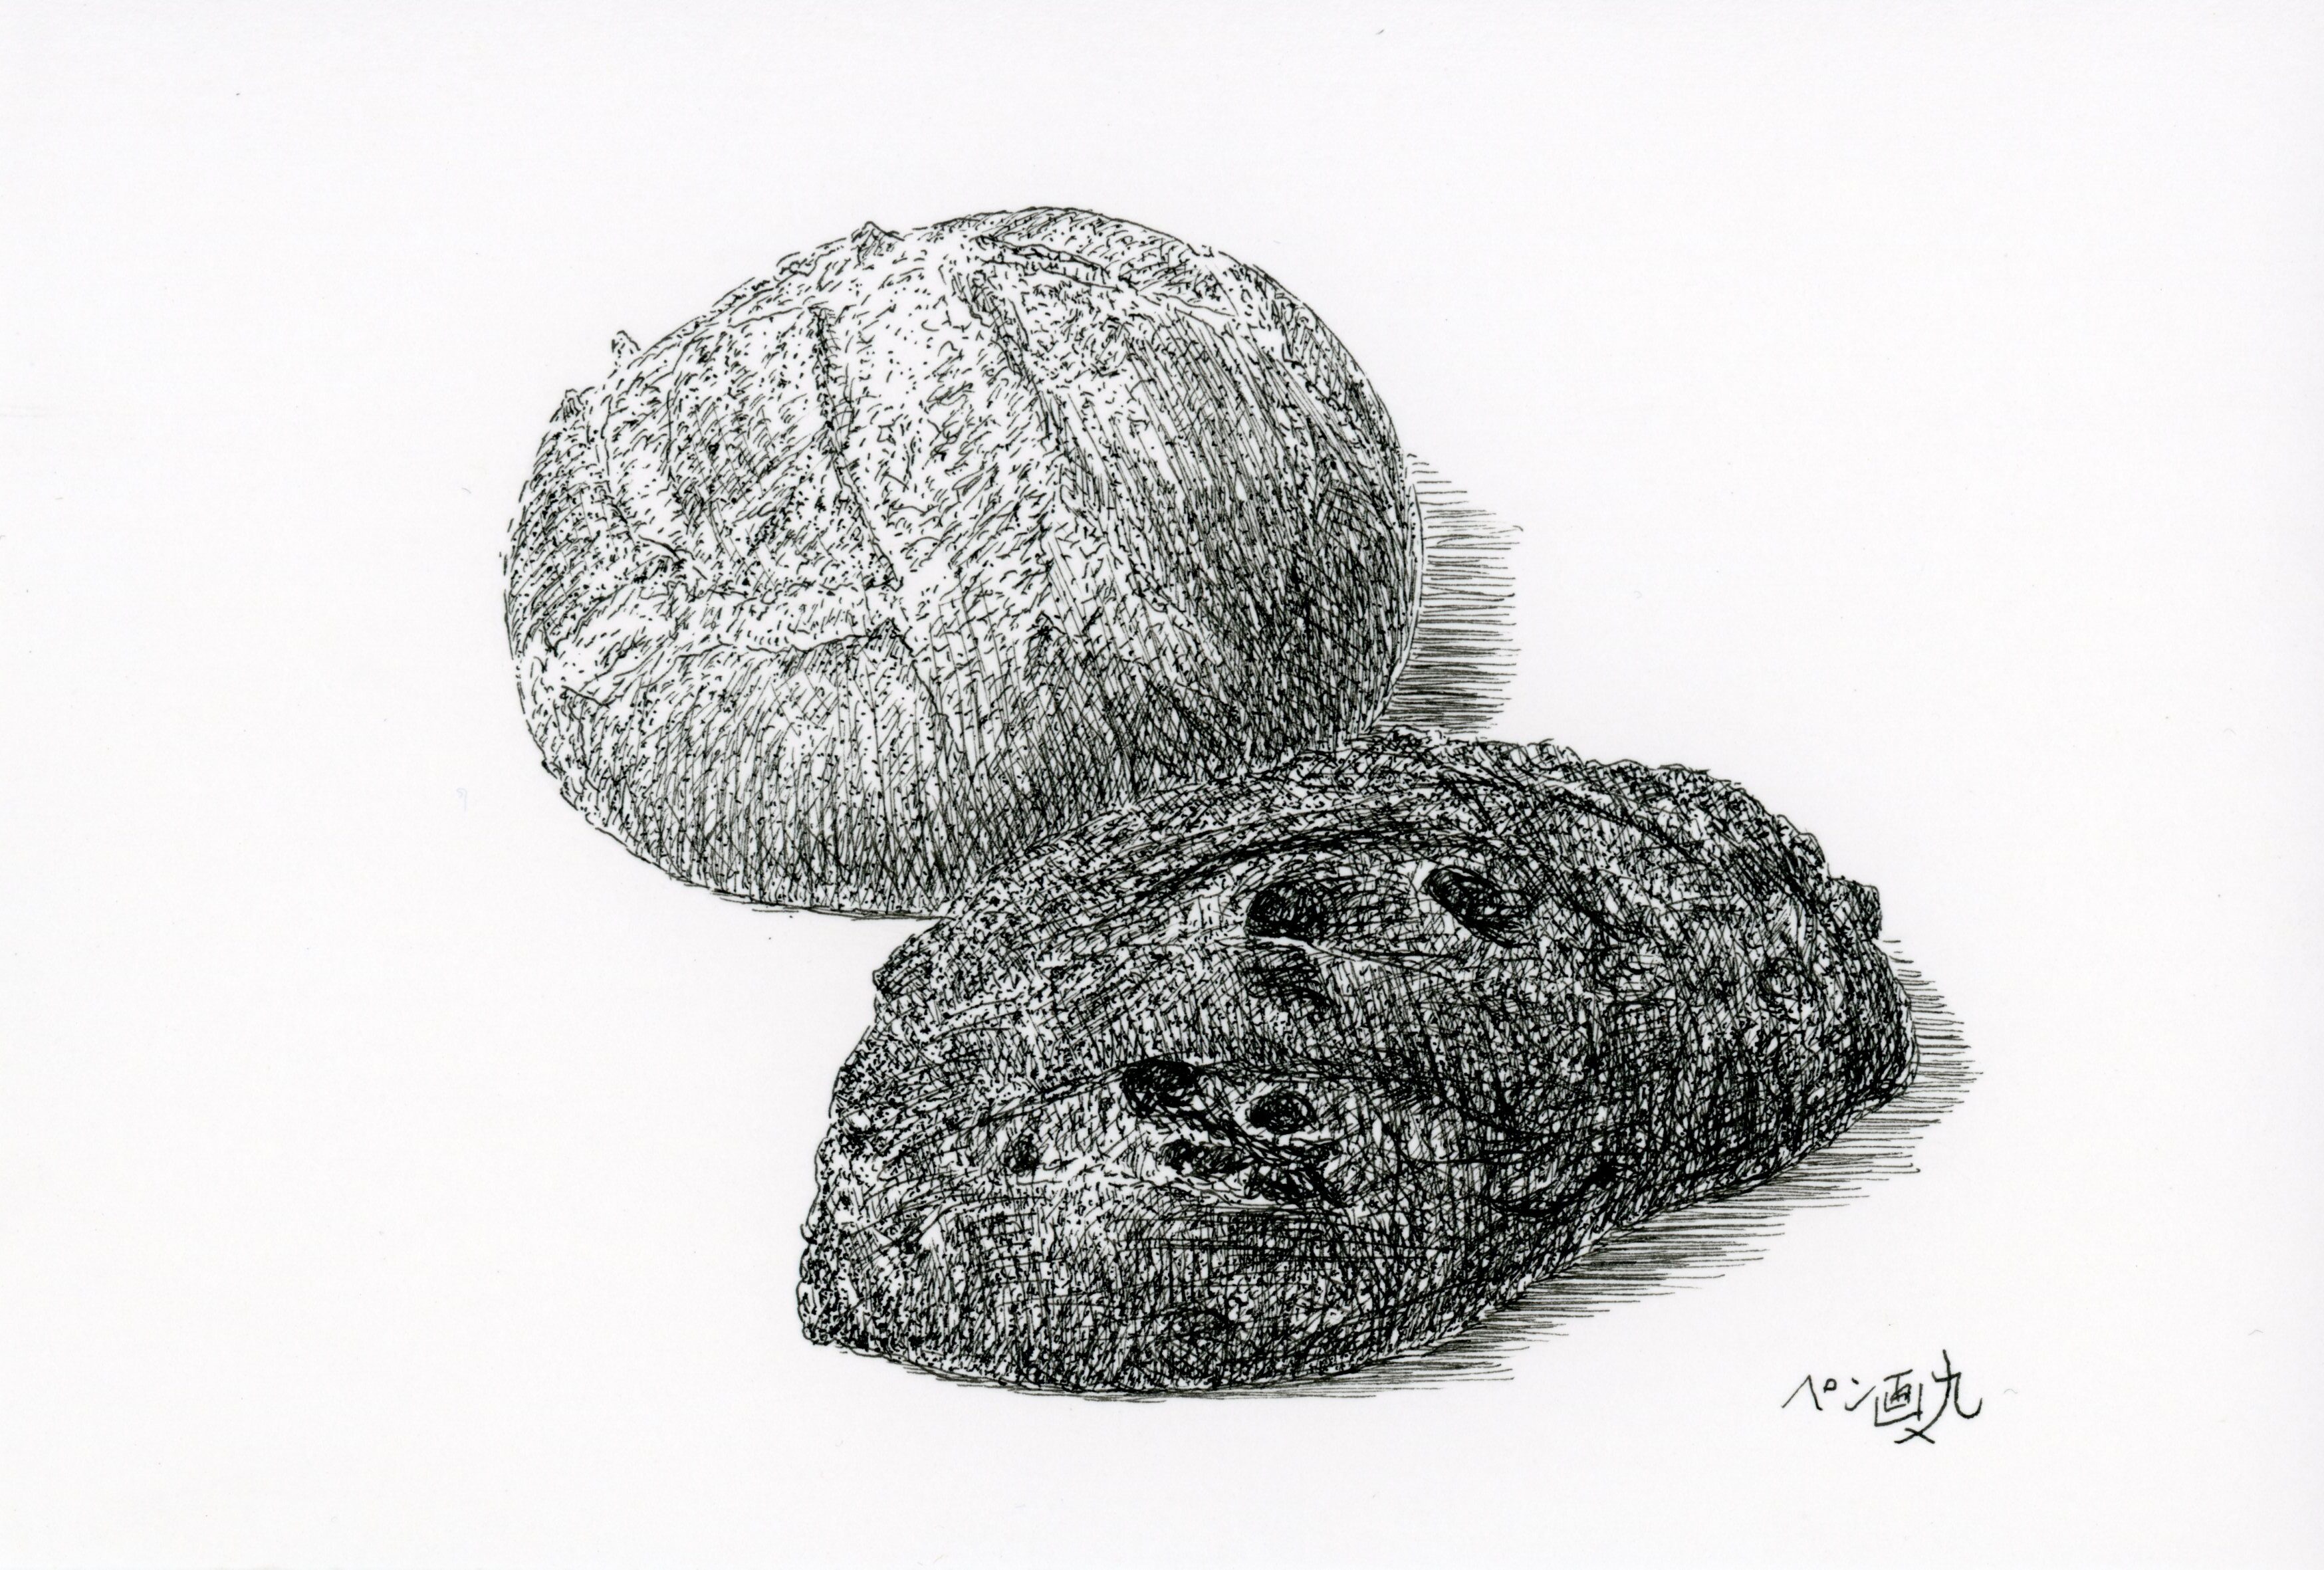
Types and Characteristics of Pens
pengamaru
How to draw in pen and ink
Hello, this is Pengamaru.
If so, this article is for you!
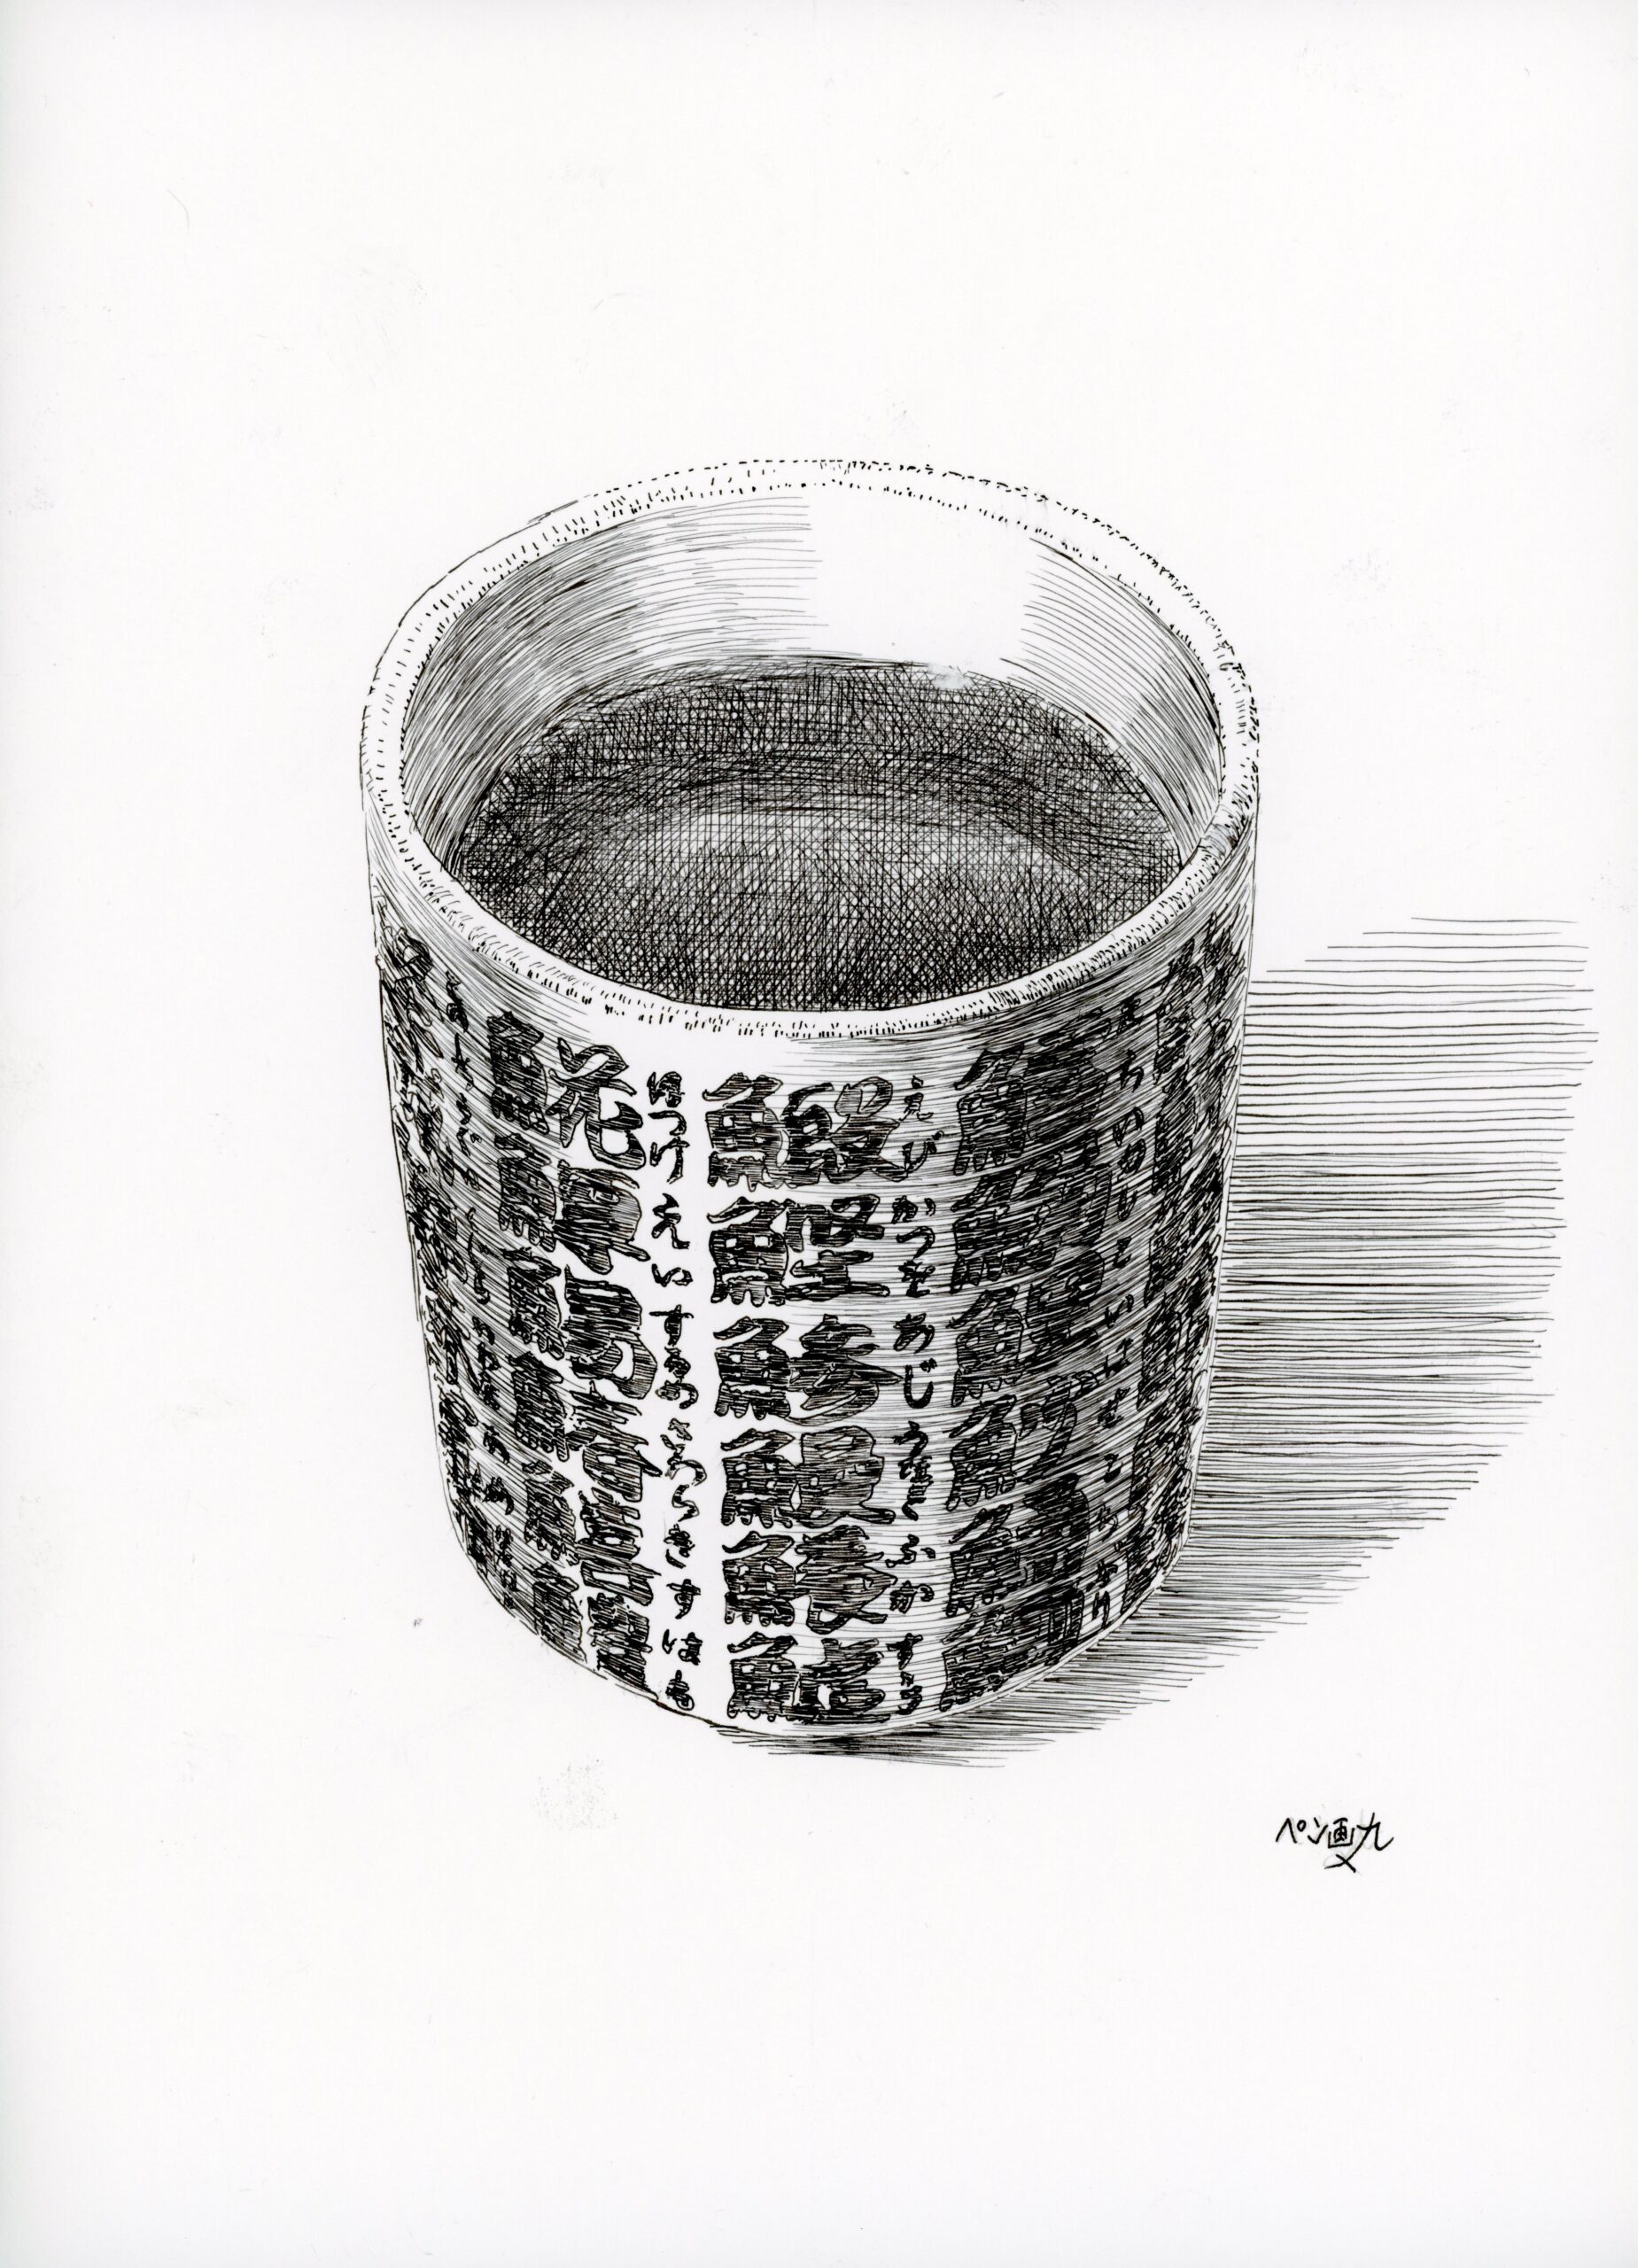
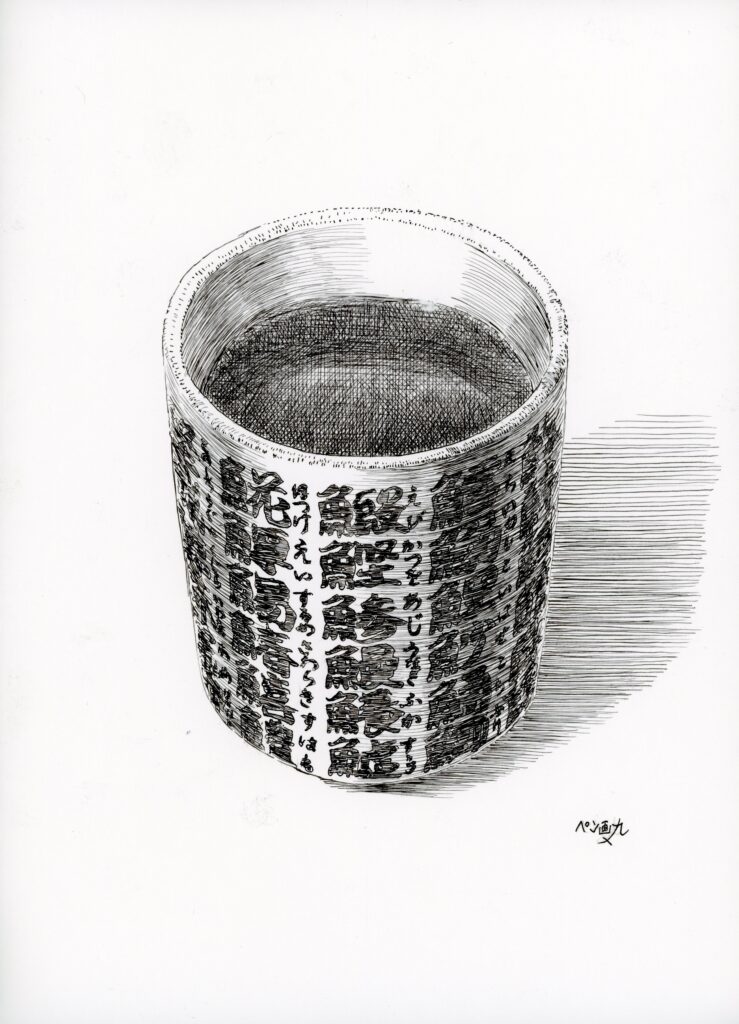
In this tutorial, we’ll take a close look at how to draw a teacup, a common everyday object, using pen and ink.
By drawing a teacup with kanji characters often seen in sushi restaurants, you can naturally improve your sense of balance in lettering and refine your ability to depict fine details.
We’ll guide you step by step, from the basics to more advanced techniques, so even beginners can follow along with confidence.
Now, let’s dive into the world of pen and ink drawing together!
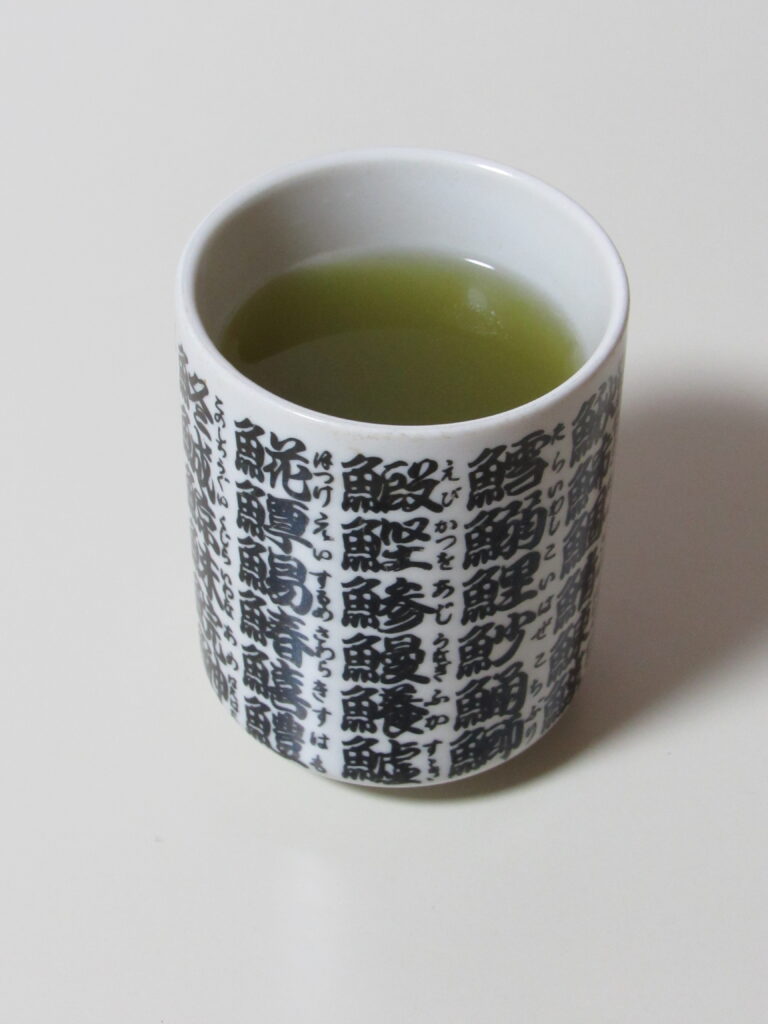
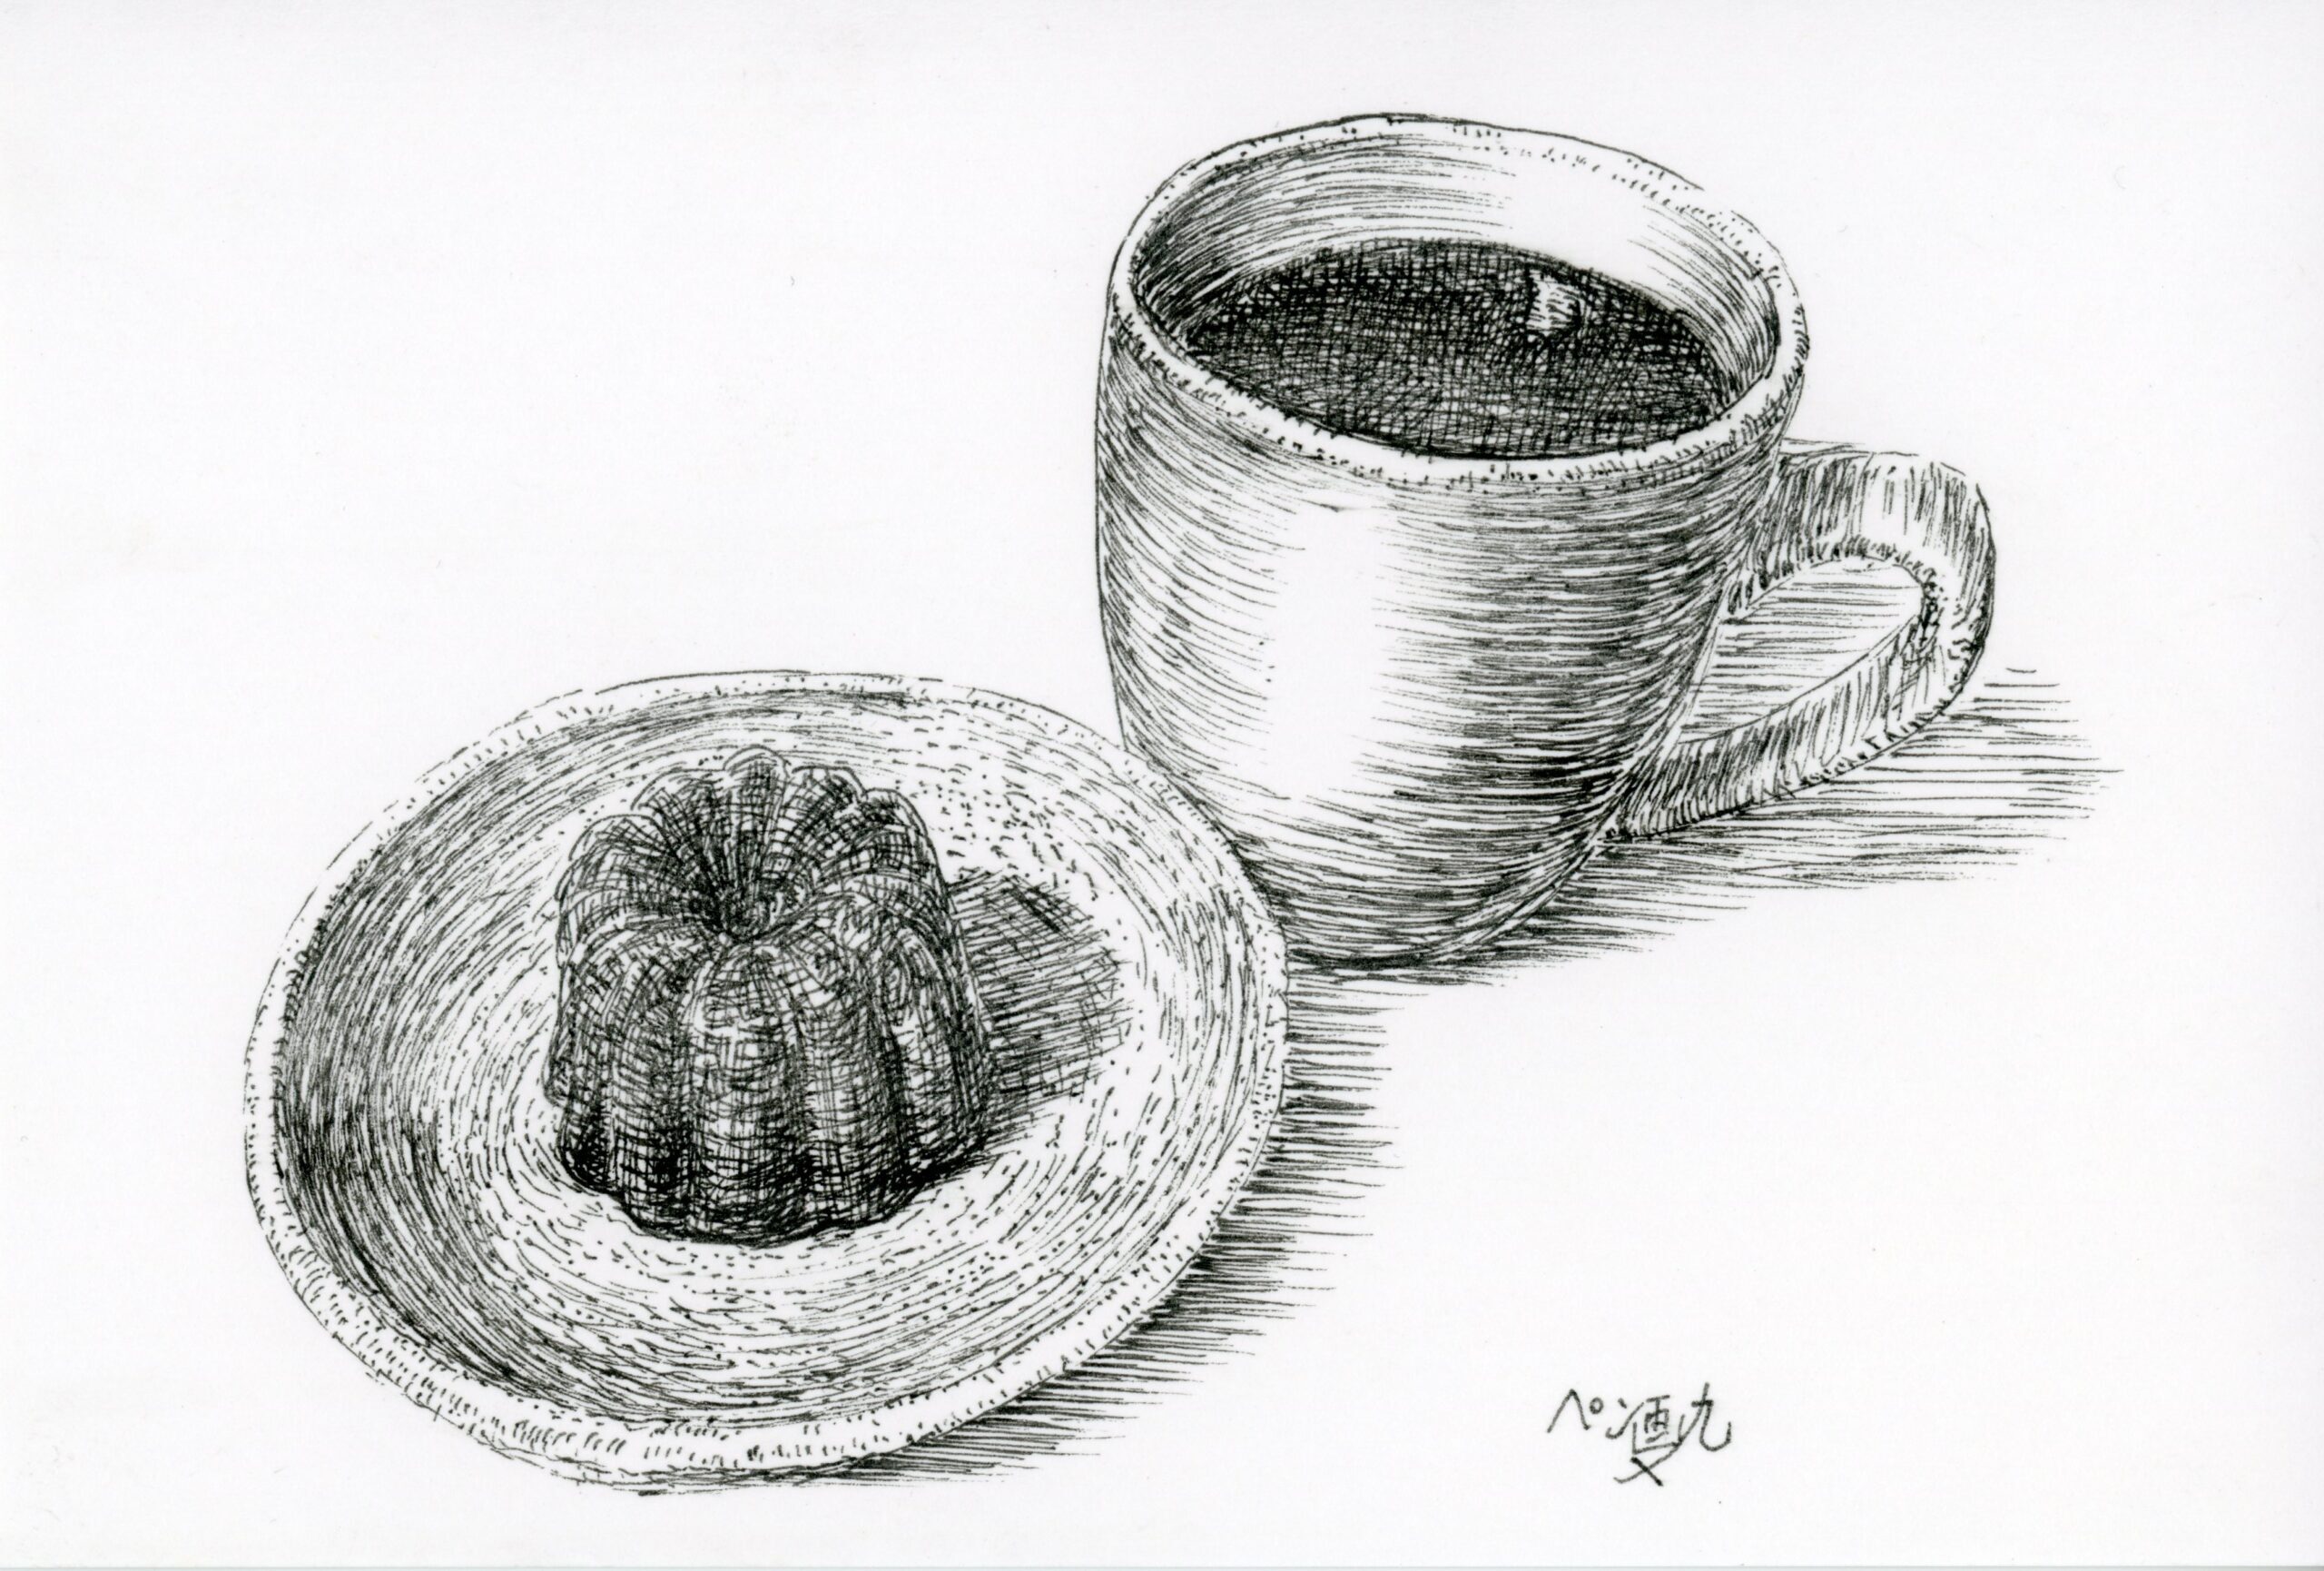
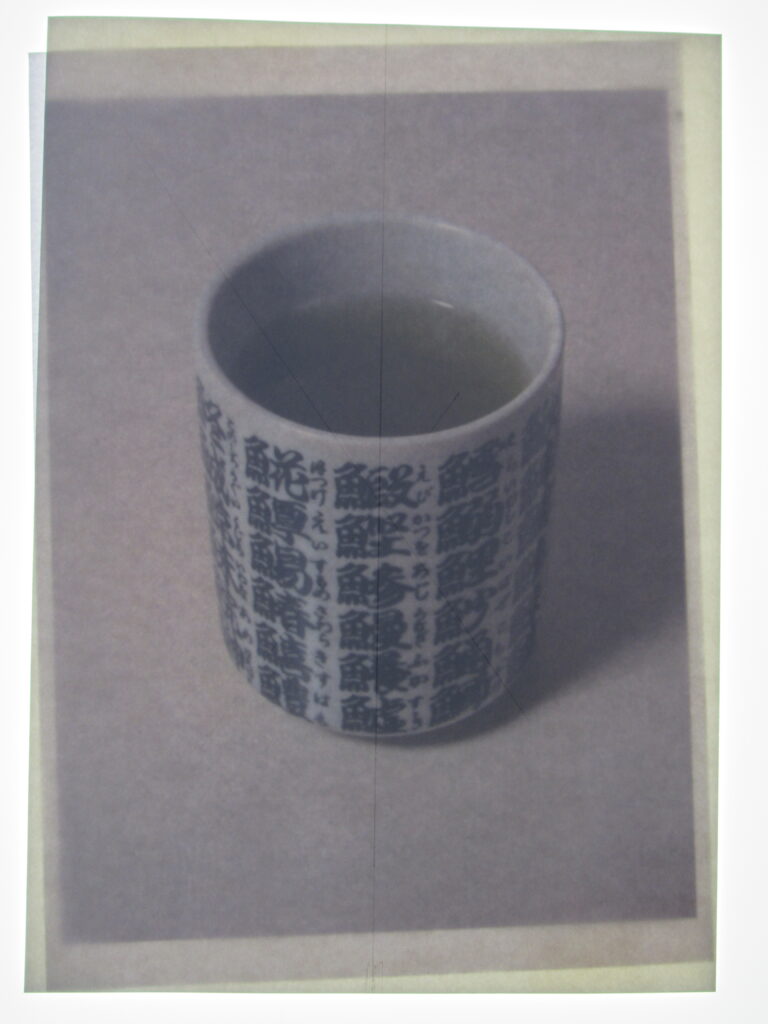
In this tutorial, we will use a teacup as our subject.
By drawing a teacup featuring traditional kanji designs from a sushi restaurant, you can also practice writing kanji.
To add depth and a touch of color, we will include dark tea inside the cup.
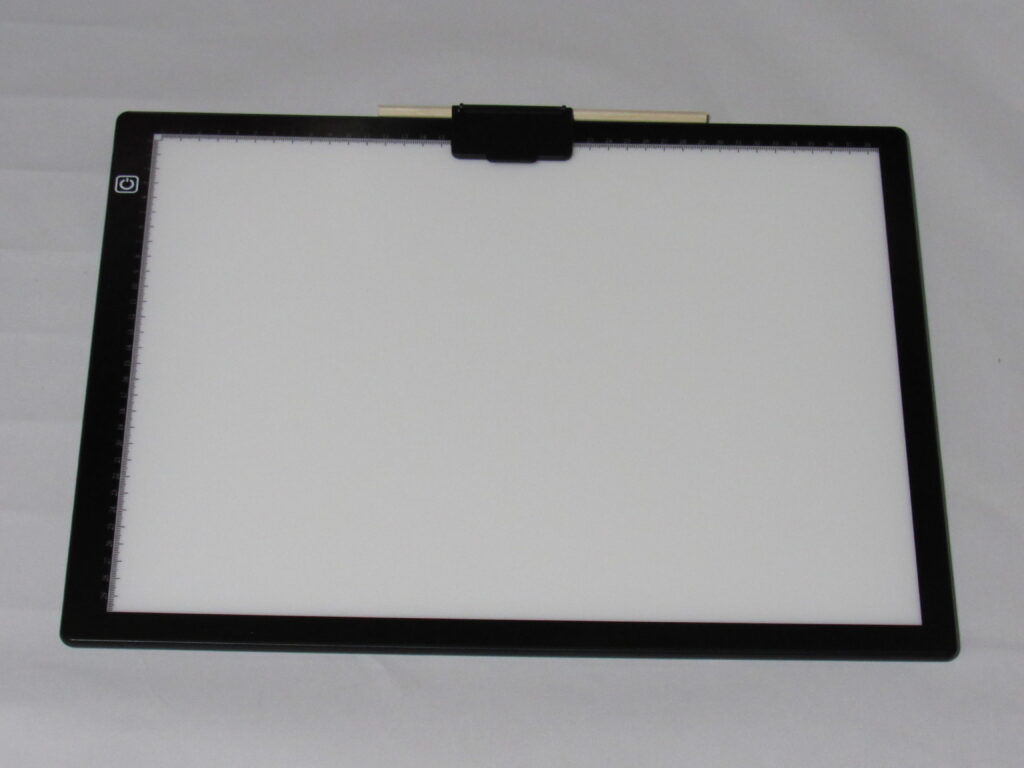
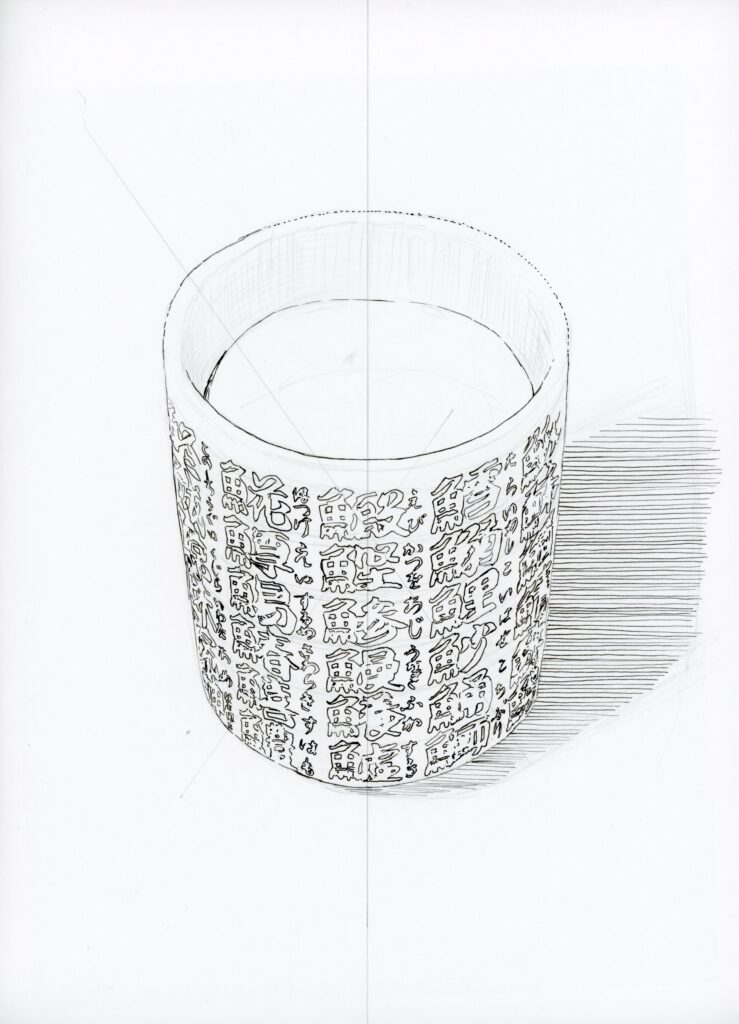
First, use a lightbox to create a preliminary sketch.
A lightbox is a tool that allows you to trace images by shining light through the paper.
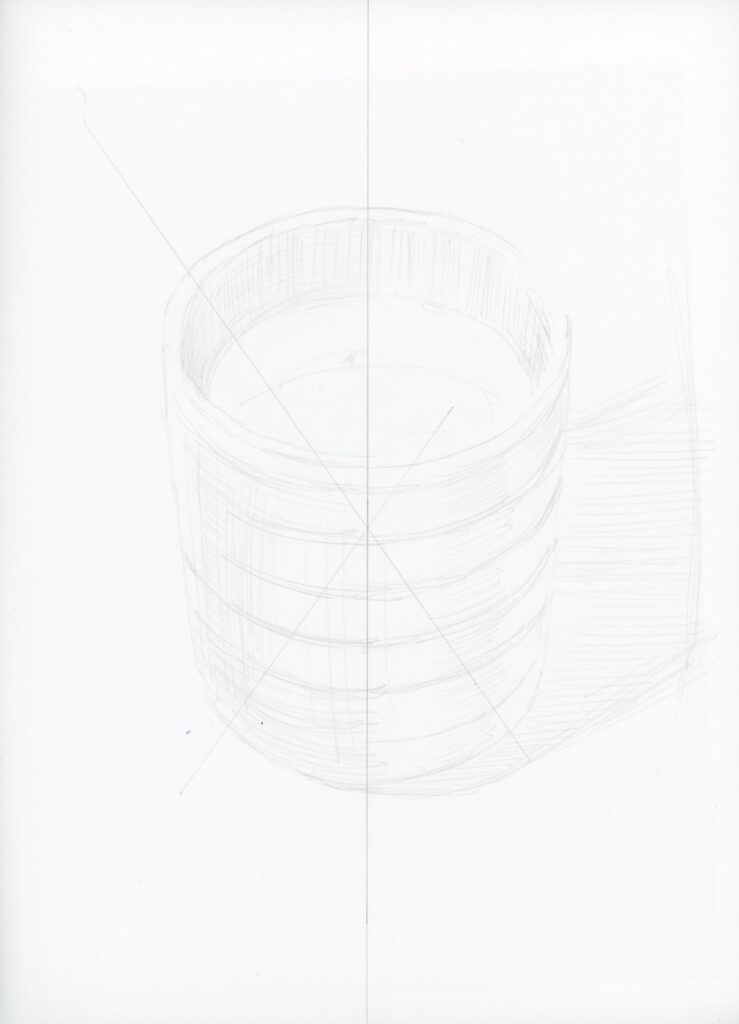
Refine the sketch by adding guidelines to indicate the curvature and structure of the teacup.
Use vertical and curved horizontal lines as references to help with the placement of the kanji characters.
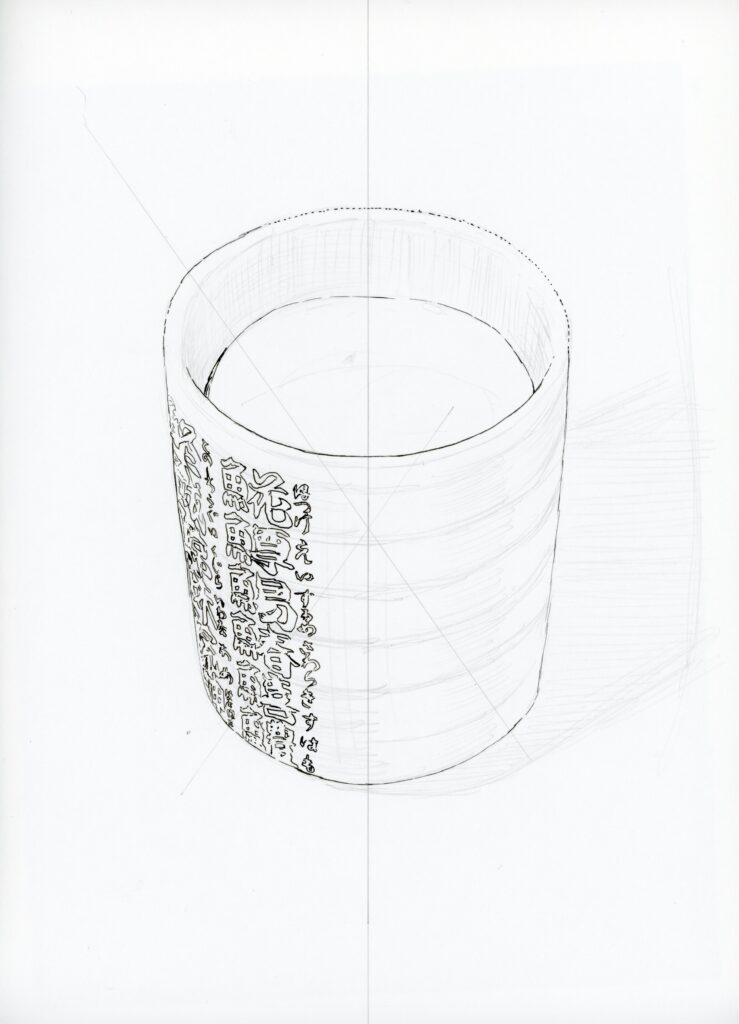
Next, use your pen to ink the contour lines of the teacup.
Represent the curved shape of the teacup using smooth horizontal strokes.
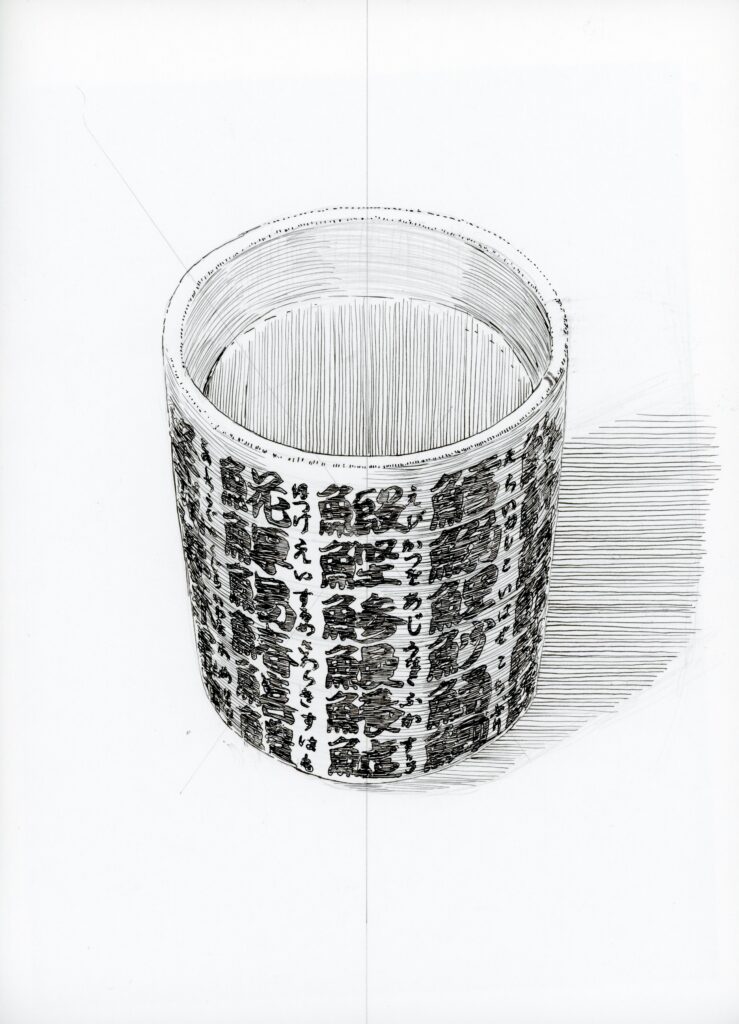
Fill in the kanji characters with solid black ink to create contrast.
Outline the kanji characters to make them stand out.
Also, add shadows on the table using horizontal lines to establish the teacup’s presence in the scene.

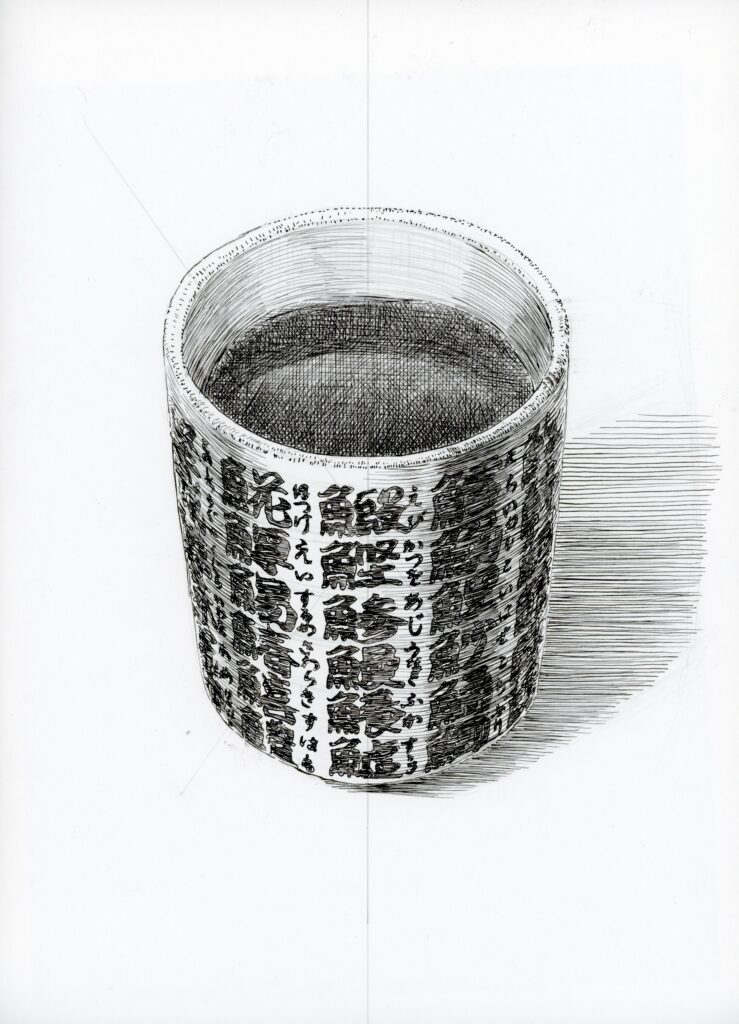
Darkening the tea
Use straight lines to depict the surface of the tea.
Layer multiple lines in different directions—vertical, horizontal, diagonal right, and diagonal left—to create a sense of depth and shading.
Shadows on the table should also be drawn using only horizontal lines to maintain consistency.
Increase the darkness of the tea by adding more ink.
Darken the inner reflection of the teacup to enhance realism.
Use curved lines to emphasize the teacup’s rounded shape and add depth to the shadows.
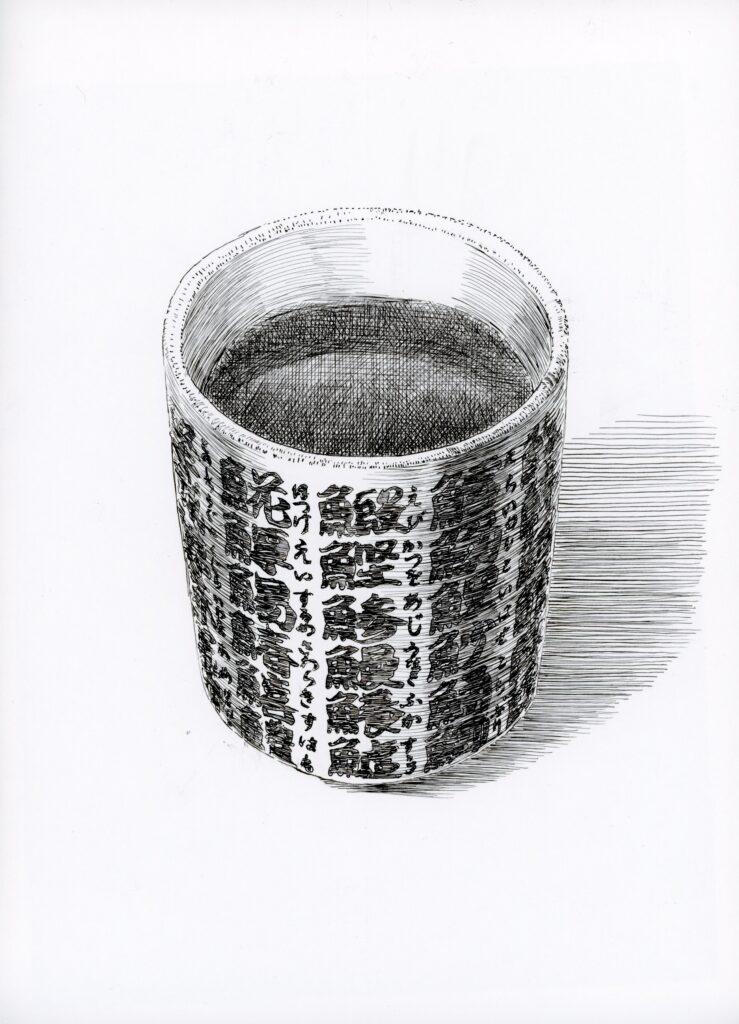
Use an eraser to remove pencil guidelines and clean up the drawing.
Add more shading to the inside of the cup and refine the tea, then make overall adjustments.
If any smudges appear, use an electric eraser to clean them up.
For detailed corrections, use a sand eraser for precision.
Once satisfied, sign your artwork to complete the piece!
How was this tutorial?
Today, we explored how to draw a teacup in pen and ink, breaking down each step in detail.
Despite its simplicity, pen drawing allows for deep and expressive illustrations, offering new discoveries with each sketch.
By drawing kanji-adorned teacups, you can appreciate the beauty of Japanese characters and the challenge of depicting the depth of tea with just lines.
Pen drawing improves with practice, so I encourage you to try sketching various subjects on your own!
Thank you for reading to the end.
Stay tuned for more exciting pen and ink drawing guides in the future!